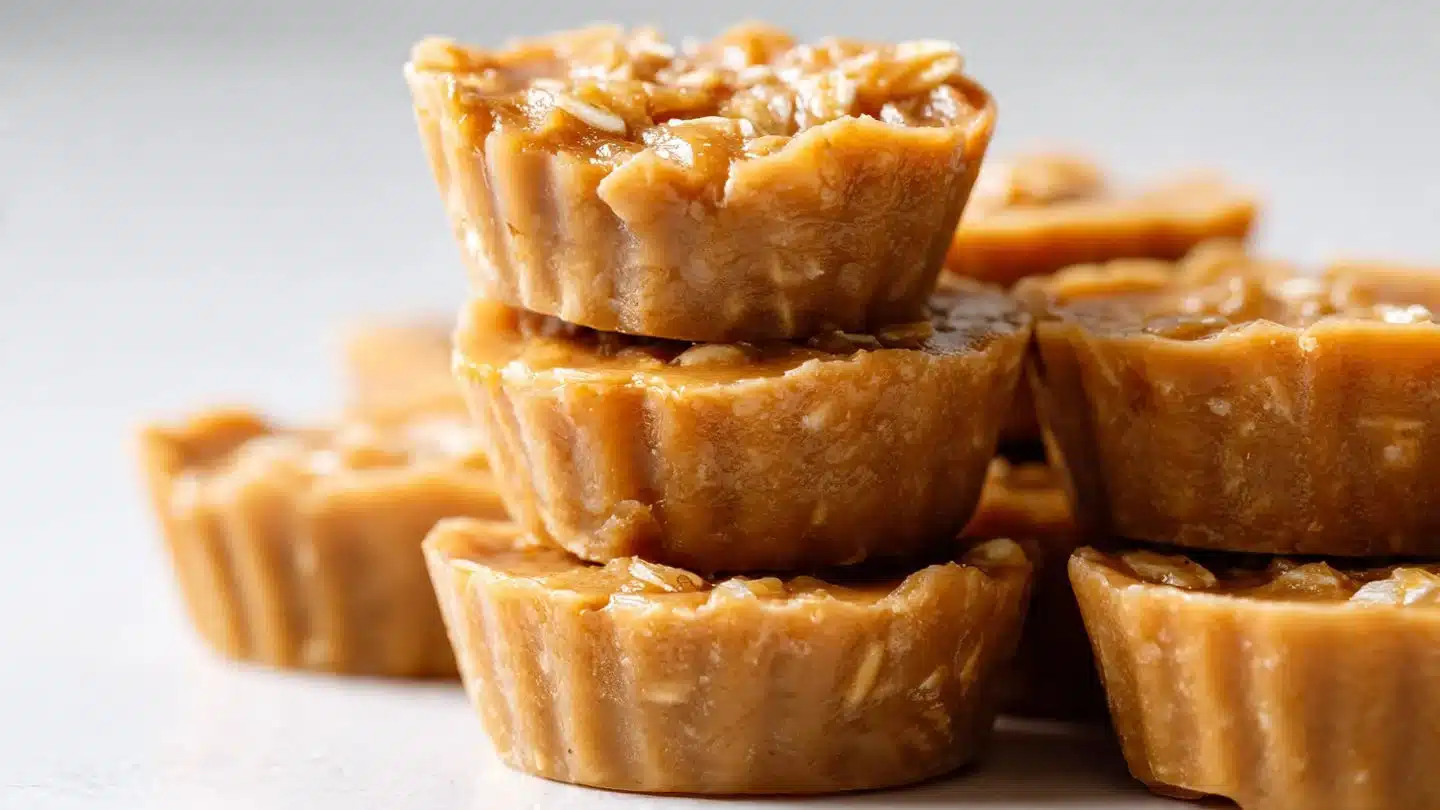
Let’s be real—sometimes, all you need is a little sweetness in life, and these 3-ingredient no-bake peanut butter oatmeal cookie cups are the answer to all your snack prayers. I mean, who doesn’t love a quick, delicious treat that requires almost zero effort? If you’ve ever found yourself in the pantry staring woefully at a jar of peanut butter, wondering how to make it your best friend, you’re in for a fantastic surprise!
With just three super simple ingredients, you can whip up these delightfully chewy cookie cups without even turning on your oven. Ready to elevate your snack game? Trust me, you’re going to want to make these ASAP!
Why You’ll Love This Recipe
- Quick & Easy: Seriously, it takes no time at all! Who has time for complicated recipes, anyway?
- Minimal Ingredients: We’re talking just three ingredients here. It’s like your pantry called and said, “This is all you need!”
- Customizable: Feeling adventurous? You can totally switch it up.
- Healthy-ish: Okay, maybe don’t enter this in a health food competition, but oats and peanut butter have their perks!
- Kid-Friendly: Kids can help, and they’ll definitely want to eat them afterward (bonus points for you!).
Ingredients You’ll Need
You won’t believe how simple this list is. Here’s what you need to get started:
- 1 cup peanut butter (creamy or crunchy—your choice, no judgment here!)
- 1 cup rolled oats
- 1/4 cup maple syrup or honey (both work like a charm!)
Get these three ingredients together, and you’re practically halfway there. Easy as pie—but much easier than pie!
How to Make (Step-by-Step)
Let’s break this down into simple steps for you. Grab your mixing bowl and let’s get started!
STEP 1: Mix It Up
In a bowl, combine the peanut butter, rolled oats, and maple syrup or honey until everything is well blended. You want a good consistency that holds together like a very sticky dough.
STEP 2: Mold Time
Spoon that delicious mixture into silicone cupcake molds. If you don’t have those, any small cups will work, but silicone makes it a lot easier to pop them out!
STEP 3: Press Down
Press the mixture down firmly to form cookie cups. You really want them packed in there—this isn’t a gentle massage, folks.
STEP 4: Chill Out
Pop those molds in the fridge for at least 30 minutes. This helps everything firm up nicely. Time to chill, literally!
STEP 5: Enjoy!
Carefully remove from the molds. Your cookie cups are ready to be devoured! Try not to eat them all in one sitting. (But seriously, I wouldn’t judge if you did.)
Pro Tips for the Best Results
- Peanut Butter Texture: If you’re using natural peanut butter, make sure to give it a good stir before measuring. You don’t want it all separated and sad.
- Oat Options: Not a fan of rolled oats? You can use quick oats, but just be aware they may change the texture a bit.
- Sweetness Preference: Adjust sweeteners based on your taste. If you love it sweeter, add slightly more maple syrup or honey!
- Mold Size: If you use larger molds, it’ll take longer to chill. Patience is a virtue, my friend!
Fun Variations & Topping Ideas
Wanna get creative? Here are a few tasty ideas:
Variations:
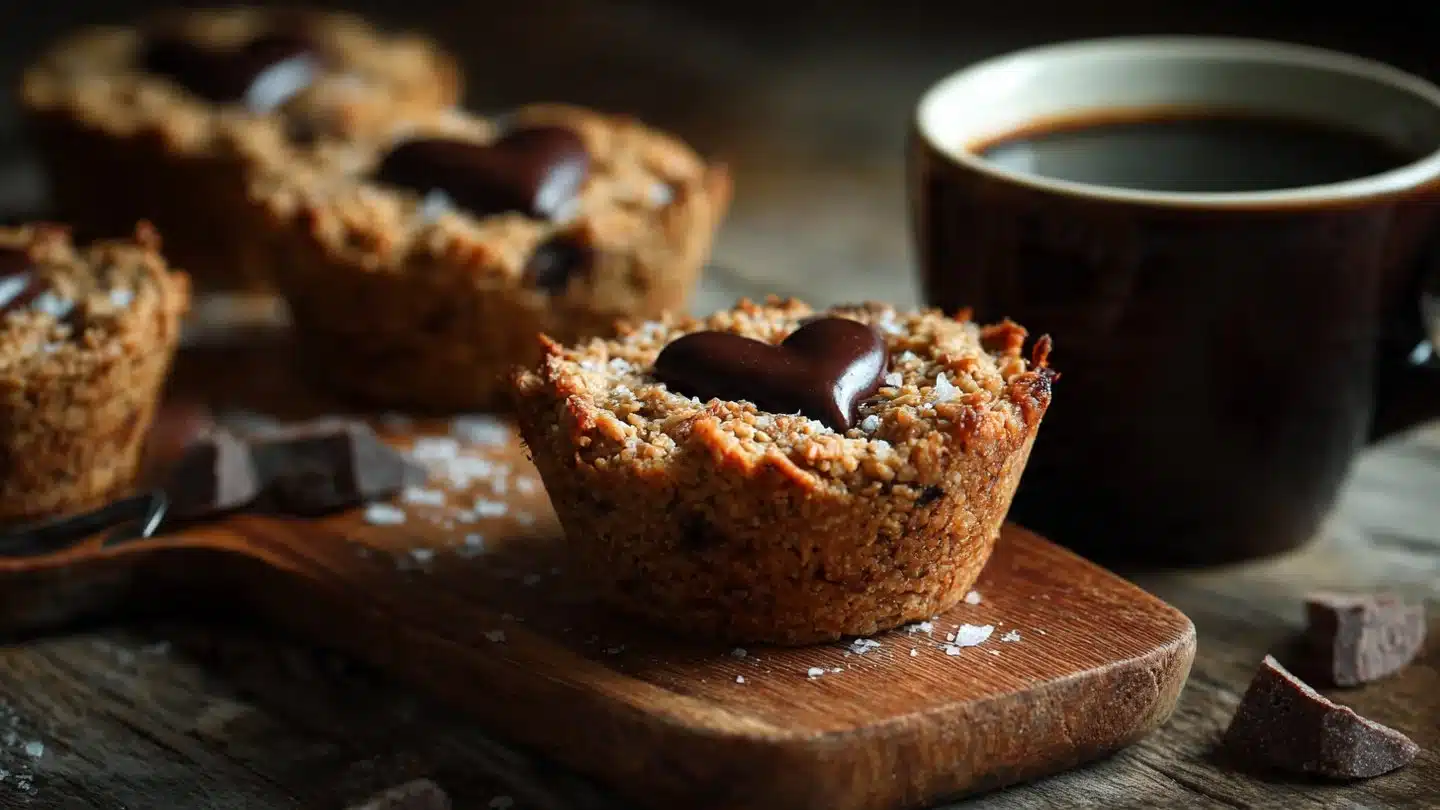
- Choco-Peanut Bliss: Add some chocolate chips to the mixture. Trust me, you can never go wrong with chocolate.
- Nutty Goodness: Mix in chopped nuts for an extra crunch! Almonds, walnuts—go wild!
- Coconut Dream: Sprinkle some coconut flakes in there. Tropical vibes!
Toppings:
- Drizzle of Chocolate: Melt some chocolate chips and drizzle it over the top for a gourmet touch.
- Fruit Slices: Throw on some banana or strawberries. Instant freshness!
- Yogurt: A dollop of Greek yogurt on top can add a nice creaminess.
Storing and Reheating
Storing:
Keep those beauties in an airtight container in the fridge. They should last about a week—if they last that long!
Reheating:
Honestly, you don’t need to reheat these. They’re best served chilled straight from the fridge. But if you simply cannot resist the urge to melt them (I get it), just pop them in the microwave for 10-15 seconds.
Leftover ideas
If, somehow, you have leftovers (I don’t believe this happens, but we’ll humor it!):
- Crumble them on top of yogurt or oatmeal for a crunchy breakfast.
- Or blend them into a smoothie for a protein-packed boost.
Frequently Asked Questions (FAQ)
Can I use another nut butter?
Absolutely! Almond butter, cashew butter—go crazy, be your own nutty best friend!
Is this recipe gluten-free?
Yup! As long as you use certified gluten-free oats, you’re in the clear.
How can I make these vegan?
Just swap honey for another vegan sweetener, like agave syrup.
Conclusion
So there you have it! No-bake peanut butter oatmeal cookie cups that are just a few minutes away from being your new go-to snack. They’re quick, delicious, and you can even impress your friends with your kitchen wizardry. Go ahead and leave a comment below if you tried this recipe, or hit me up with your rating!
Now go forth and make these magical little cups of joy. 🍪
3-Ingredient No-Bake Peanut Butter Oatmeal Cookie Cups
Ingredients
Main Ingredients
- 1 cup peanut butter creamy or crunchy—your choice
- 1 cup rolled oats can substitute with quick oats
- 1/4 cup maple syrup or honey both work well
Instructions
Preparation
- In a bowl, combine the peanut butter, rolled oats, and maple syrup or honey until everything is well blended.
- Spoon the mixture into silicone cupcake molds or any small cups.
- Press the mixture down firmly to form cookie cups.
- Chill in the fridge for at least 30 minutes to firm up.
- Carefully remove from the molds and enjoy!