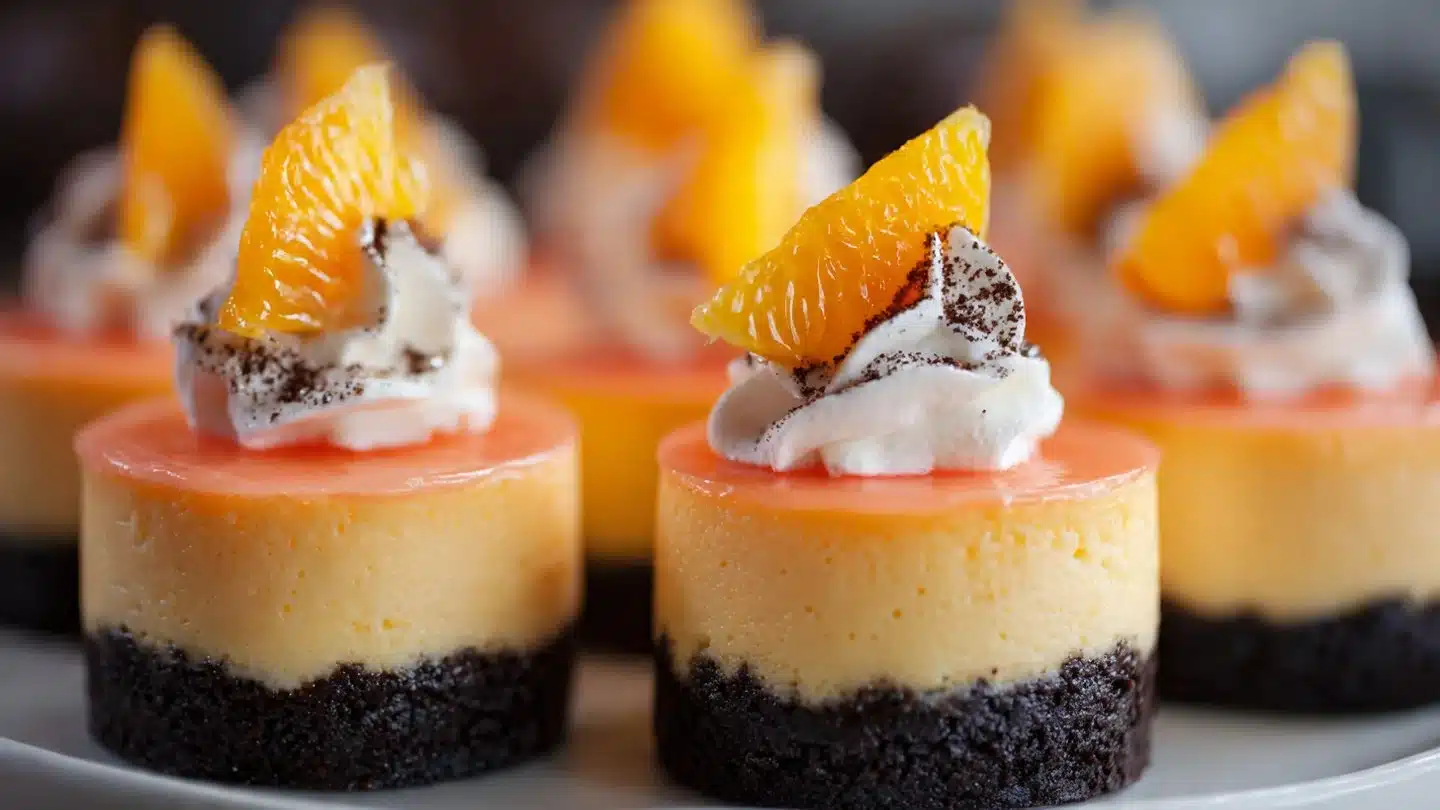
You know that carefree summer feeling you get from an Orange Creamsicle? Now imagine that in a bite-sized cheesecake. Tempting, right? I fell for these the first time I made them because they give you creamy, tangy, nostalgic flavor without needing to wrestle with a huge cheesecake or fancy equipment.
The star ingredient here obviously plays the hero: fresh orange zest + a hint of orange extract. That bright citrus note makes these minis pop. Stick with me and I’ll walk you through everything—from the exact ingredients to clever variations—so you can whip up a tray of crowd-pleasing mini cheesecakes that disappear suspiciously fast.
Why You’ll Love This Recipe
- Fast and fuss-free: These are no-bake (mostly) and take way less babysitting than a full-size cheesecake.
- Portion-perfect: Mini size means you don’t overcommit or binge an entire dessert (well, at least you can try).
- Flavor-packed: Orange zest + cream cheese + whipped cream create that classic creamsicle profile in a richer form.
- Make-ahead friendly: Prepare them the night before and relax the day of your party.
- Kiddie-approved and grown-up-worthy: Kids love the orange sweetness; adults appreciate the refined cheesecake texture.
Ingredients You’ll Need
- 12 Oreo Cookies
- 16 ounces cream cheese, room temperature
- ½ cup powdered sugar
- 1 teaspoon vanilla extract
- 1 cup heavy whipping cream
- 1 Orange (zest of one orange)
- ½ teaspoon orange extract
- 2-3 drops of orange gel food coloring
- Whipped cream, optional
- Orange slices, optional
Ingredient and Method
This little didactic note exists because you asked for it: the Ingredient list appears above, and the Method appears in the step-by-step section below. Practical, right?
How to Make (Step-by-Step)
Step 1 — Prep the muffin tin
Place 12 cupcake liners in a muffin tin, add one Oreo to the bottom of each cupcake liner, set aside. This forms a sturdy, familiar base that doubles as a tasty surprise.
Step 2 — Make the cream cheese base
In a medium bowl, mix cream cheese and powdered sugar until smooth and creamy. I use a handheld mixer for 1–2 minutes. You want zero lumps.
Step 3 — Whip the cream
In a separate bowl, whip heavy cream until soft peaks form, add orange extract and mix until stiff peaks form. This brings lightness to the cheesecake without baking.
Step 4 — Combine cream cheese and whipped cream
Add cream cheese mixture into beaten heavy cream, mix on low speed just to combine. Don’t overmix. You want that fluffy, airy texture.
Step 5 — Split the batter
Divide mixture into 2 equal portions in separate bowls. One stays plain; one receives the orange zing.
Step 6 — Layer the first cheesecake half
Spread the first half of the cheesecake mixture over the Oreo bottom. Smooth it to create a solid base for the orange layer.
Step 7 — Flavor and color the second half
To the remaining half of the mixture, add orange zest and 2-3 drops of orange gel food coloring, mix on low speed to combine, and gently spread the orange mixture over the cream cheese layer, using a toothpick to swirl the mixture. Pretty swirls make people think you tried a lot harder than you did.
Step 8 — Chill and set
Set in the fridge to firm, refrigerate for at least 3-4 hours or overnight. I usually refrigerate overnight; the texture improves and the flavors marry.
Step 9 — Garnish and serve
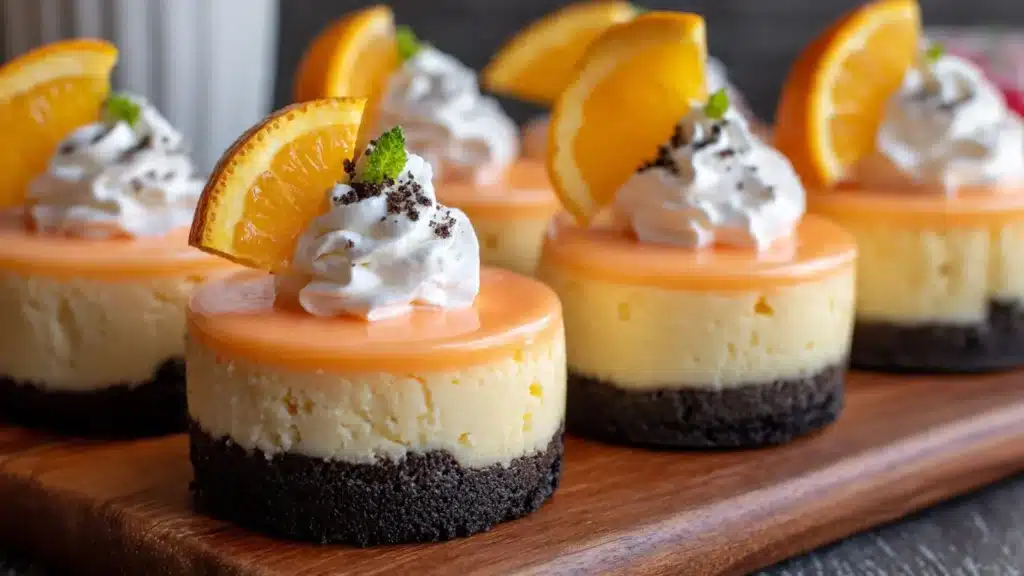
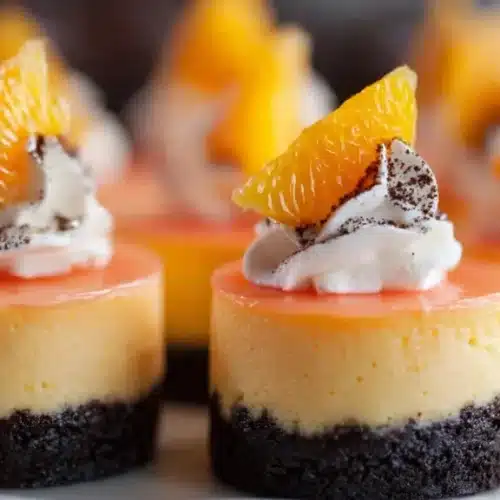
When the mini cheesecakes are completely set, garnish with whipped cream on top and an orange slice if desired. Serve chilled and watch them vanish.
Pro Tips for the Best Results
- Room-temp cream cheese speeds mixing and prevents lumps. Cold cream cheese frustrates everyone.
- Use gel food coloring rather than liquid if you want bright orange without thinning the batter.
- Zest carefully: avoid the white pith; the zest should give you bright aroma, not bitterness.
- Stabilize whipped cream by adding a teaspoon of powdered sugar if you plan to pipe decorations hours ahead.
- Chill well: the longer these chill, the firmer and more sliceable they become. I recommend overnight for best texture.
- Make the crust different: swap Oreos for graham crackers if you want a more classic cheesecake vibe.
- Portion control hack: freeze a few for later. They hold well and thaw quickly in the fridge.
Fun Variations & Topping Ideas
Variations:
- Chocolate Orange: mix 1–2 tablespoons of melted cooled chocolate into the bottom layer. Because chocolate fixes almost everything.
- Vanilla swirl: skip the orange extract and add extra vanilla to one half for a subtle creamsicle effect.
- Boozy twist: add 1 tablespoon of Cointreau or Grand Marnier to the orange mix for adults-only decadence.
Toppings:
- Candied orange peel for fancy sparkle.
- Mini chocolate shavings for contrast.
- Crushed Oreos for extra crunch.
- Toasted coconut for a summery flip.
Storing and Reheating
- Refrigerate: Store mini cheesecakes in an airtight container in the fridge for up to 4–5 days. They taste freshest in the first 2 days.
- Freeze: Place them on a tray to freeze solid, then transfer to a sealed container for up to 1 month. Thaw in the fridge overnight before serving.
- Reheat? Don’t. These cheesecakes taste best chilled. If you crave a warm version, heat a small orange compote separately and spoon it over a cold cheesecake for contrast. FYI, warm cheesecake ruins the texture.
- Transport tip: pack them snugly in a shallow container with a chilled ice pack to keep them firm during travel.
Frequently Asked Questions (FAQ)
How long do mini cheesecakes last in the fridge?
They last 4–5 days when you store them in an airtight container. I recommend eating them within 48 hours for peak freshness.
Can I make these without heavy cream?
You technically can substitute with whipped topping, but I don’t recommend it. Heavy cream gives natural richness and structure that whipped topping can’t match. IMO, use the real deal if you want texture that wows.
Do I have to use Oreos?
Nope. Use graham cracker crumbs, digestive biscuits, or even crushed shortbread. Each base gives a slightly different texture and flavor.
Can I make these ahead for a party?
Absolutely. Make them the night before; they firm up beautifully. Keep them chilled until you serve. Guests will think you slaved over the stove. Delightful deception.
Conclusion
If you want bright, nostalgic flavor in convenient, elegant little bites, these Orange Creamsicle Mini Cheesecakes deliver every time. They require simple ingredients, minimal effort, and they scale up easily for a crowd. Try the classic version or experiment with chocolate, booze, or coconut—this recipe handles creativity like a champ.
If you want a slightly different take or another tested recipe to compare notes with, I recommend checking out this version: Mini Orange Creamsicle No-Bake Cheesecake which inspired a few of my tweaks.
Go make a batch, then come back and tell me how many you hid for yourself. Leave a comment and a rating if you liked the recipe—I read every single one and I’ll probably drool a little. 😉

Orange Creamsicle Mini Cheesecakes
Ingredients
Crust
- 12 pieces Oreo Cookies Used as a base for the mini cheesecakes.
Cream Cheese Mixture
- 16 ounces cream cheese, room temperature Ensure it’s at room temperature for easier mixing.
- ½ cup powdered sugar For sweetness and smooth texture.
- 1 teaspoon vanilla extract
- 1 cup heavy whipping cream Whipped to add lightness.
- 1 pieces Orange (zest of one) Adds a fresh citrus flavor.
- ½ teaspoon orange extract
- 2-3 drops orange gel food coloring Optional, for color.
Garnish
- to taste Whipped cream, optional For topping.
- to taste Orange slices, optional For garnish.
Instructions
Preparation
- Place 12 cupcake liners in a muffin tin, add one Oreo to the bottom of each cupcake liner, set aside.
- In a medium bowl, mix cream cheese and powdered sugar until smooth and creamy using a handheld mixer for 1-2 minutes.
- In a separate bowl, whip heavy cream until soft peaks form, add orange extract and mix until stiff peaks form.
- Add cream cheese mixture into beaten heavy cream, mix on low speed just to combine, being careful not to overmix.
- Divide mixture into 2 equal portions in separate bowls. One stays plain; flavor the other with orange zest and food coloring.
- Spread the plain cheesecake mixture over the Oreo bottom to create a solid base.
- Gently spread the orange mixture over the cream cheese layer, swirling with a toothpick for a visual effect.
- Set in the fridge to firm, refrigerate for at least 3-4 hours, or preferably overnight.
- Once set, garnish with whipped cream and an orange slice if desired. Serve chilled.