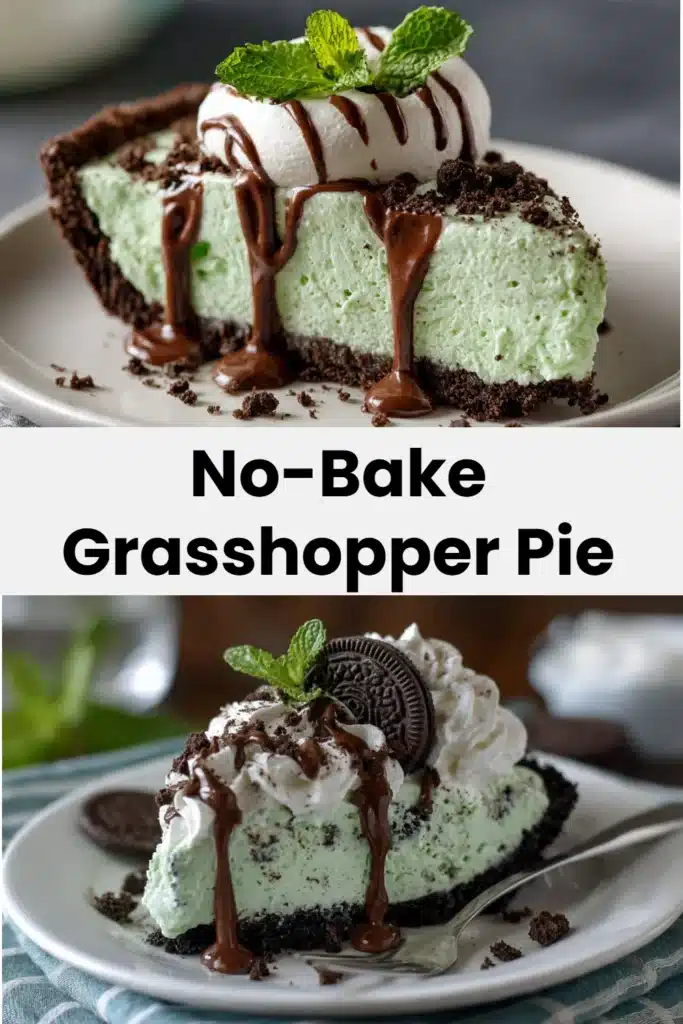
You ever crave something cool, minty, and chocolatey without standing over a hot oven? Same here. I learned the hard way that some desserts belong in the fridge, not the oven—especially when summer hits and the last thing I want is extra heat in the kitchen. Enter the No-Bake Grasshopper Pie, my go-to showstopper that looks fancy but behaves like a lazy genius.
I first made this for a friend’s birthday when we had zero time and a lot of expectations. The pie came together fast, vanished faster, and now people expect it at every celebration. Lucky for you, I’ll walk you through everything so you can impress guests without breaking a sweat.
Why You’ll Love This Recipe
- No oven required — perfect for hot days or tight schedules.
- Quick to assemble — you’ll spend more time chilling than mixing.
- Perfect balance of mint and chocolate — that refreshing hit without being overpowering.
- Kid-friendly and party-ready — people may fight over the last slice (I’m not kidding).
- Flexible — swap toppings, play with textures, and still win.
Ever wondered why no-bake pies taste so indulgent? The texture stays luxuriously creamy when you don’t heat the ingredients, and the mint-chocolate combo keeps each bite bright instead of dense. Win-win.
Ingredients You’ll Need
Here’s the exact list I use every time. Keep it simple and don’t overthink subs unless you know what you’re doing.
- 1 1/2 cups chocolate cookie crumbs
- 1/2 cup unsalted butter, melted
- 8 oz cream cheese, softened
- 1 cup powdered sugar
- 1 teaspoon peppermint extract
- 2 cups whipped cream
- 1 cup chocolate ganache
I bolded the essentials so your eyes can find them at a glance. Buy good chocolate for the ganache—I promise it pays off.
How to Make (Step-by-Step)
I break this into easy chunks so you don’t feel like baking a PhD thesis. Each major step gets its own mini-mission.
1. Form the crust
In a mixing bowl, combine chocolate cookie crumbs and melted butter, then press into the bottom of a pie dish to form the crust. Press firmly so the crust holds together when you slice the pie.
2. Prepare the cream cheese base
In another bowl, beat the softened cream cheese and powdered sugar until smooth. Keep beating until the texture looks silky, not grainy.
3. Add flavor
Add peppermint extract and mix. Taste a tiny smear—yes, you can taste test the batter—and adjust if you want a bolder mint punch.
4. Fold in whipped cream
Gently fold in the whipped cream until fully combined. Use a spatula and gentle motions so the mixture stays airy.
5. Fill the crust
Pour the filling into the crust and smooth the top. A little swirl looks pretty and hides any mistakes.
6. Chill
Chill in the refrigerator for at least 4 hours. Don’t skip this—chilling sets the filling and makes slicing neat.
7. Ganache finish
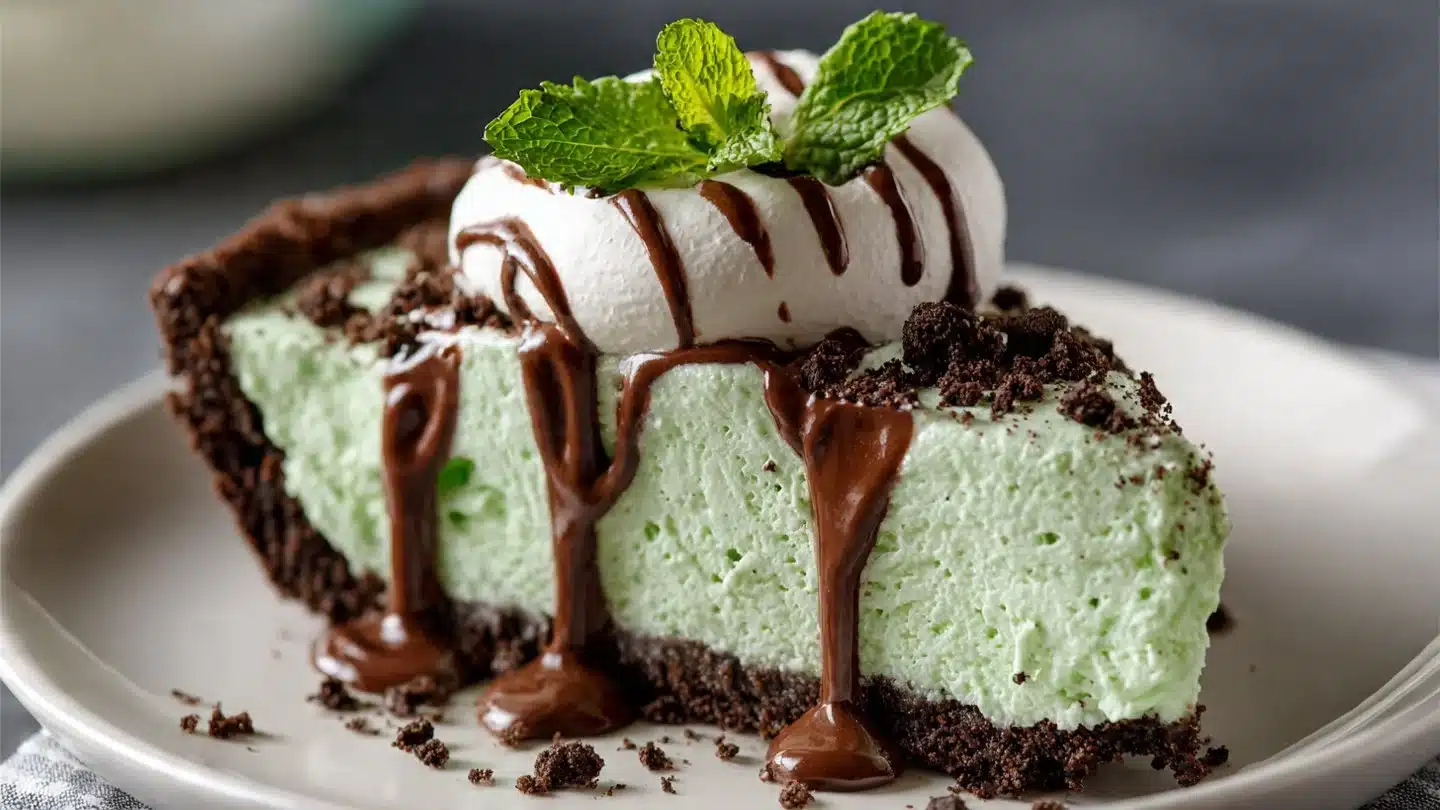
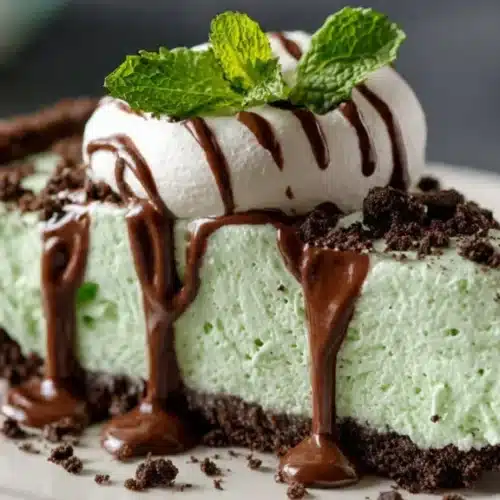
Before serving, pour chocolate ganache over the pie. Spread it evenly or leave it drippy for drama.
8. Slice and serve
Slice and enjoy your refreshing dessert! Watch the compliments roll in.
See? Eight steps and most of them involve waiting, which is my kind of cooking.
Pro Tips for the Best Results
- Use room temperature cream cheese to avoid lumps and ease mixing.
- Press the crust firmly so slices hold shape—use the bottom of a measuring cup for even pressure.
- Whip cream to soft peaks; over-whipping ruins the light texture.
- Chill overnight if you can—the flavor improves and textures firm up.
- Make the ganache with a 1:1 chocolate-to-cream ratio for a pourable but firm topping.
- Freshen mint with peppermint extract sparingly; that stuff is potent. Start with less and add more if needed.
- If you want extra texture, fold in mini chocolate chips or crushed thin mints for a crunch surprise.
Do you want the pie to hold together perfectly for party platters? Follow those tips and you’ll slice like a pro.
Fun Variations & Topping Ideas
Yes, you can get creative. Here’s how to tweak it without breaking the core idea.
Variations:
- Boozy twist: Fold in 1–2 tablespoons of crème de menthe or mint liqueur. FYI: adults will approve.
- Cookie swap: Use Oreo-style cookies for a more intense chocolate crust.
- Healthier-ish option: Substitute half the whipped cream with Greek yogurt for tang and protein (IMO better for breakfast… kidding, sort of).
Toppings:
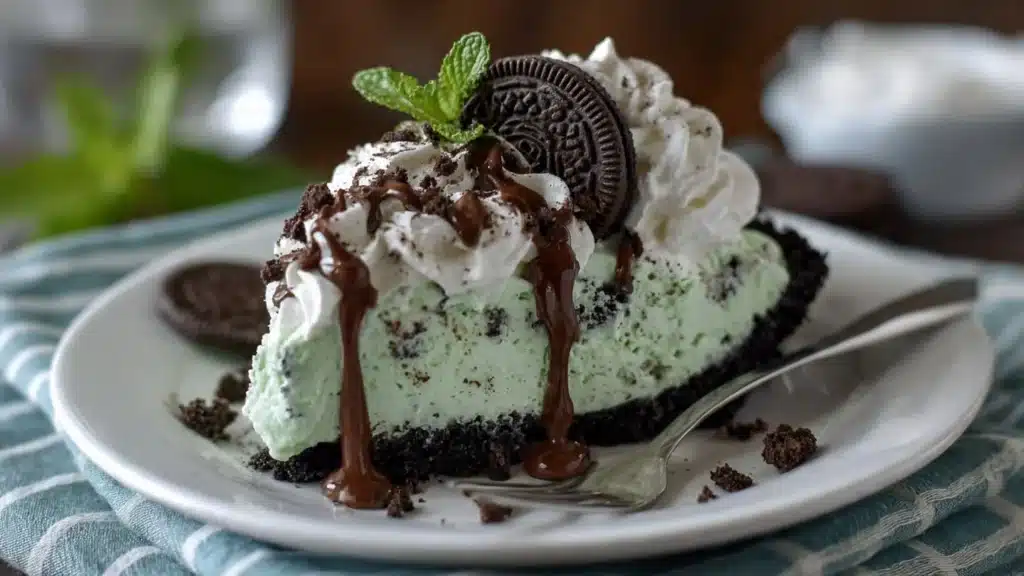
- Crushed chocolate cookies for extra crunch.
- Shaved dark chocolate for a classy finish.
- Mint leaves for a fresh look (and a little aroma).
- Whipped cream rosettes piped around the edge for show-offs.
- A drizzle of white chocolate to contrast the dark ganache.
Which topping will you try first? I can’t pick; I’m indecisive around dessert.
Storing and Reheating
This section gets practical because leftovers matter.
- Refrigerate: Store the pie in the fridge, covered, for up to 4 days. The crust softens a bit over time but stays delicious.
- Freeze: Wrap tightly and freeze for up to 1 month. Thaw in the fridge overnight before serving.
- Reheating: Don’t microwave this pie—that ruins the texture. If you want a slightly softer slice, let it sit at room temperature for 10–15 minutes before serving.
Pro tip: If you plan leftovers, slice before storing so you can grab a piece without disturbing the rest.
Frequently Asked Questions (FAQ)
What if I don’t have peppermint extract?
Use a small amount of mint liqueur or crushed fresh mint steeped in a bit of warm cream, then strain. I prefer the extract for consistency, but get creative if you must.
Can I use store-bought whipped cream?
Yes, but homemade whipped cream gives better structure and flavor. If you use store-bought, pick the stiffer, tub-style one, not aerosol.
How do I fix a runny filling?
If the filling looks too loose, chill it longer. If it still won’t set, fold in a tablespoon of instant pudding mix to thicken—don’t blame me if guests notice the pudding (they usually don’t).
Can I make individual servings?
Absolutely. Use small tart pans or ramekins and reduce chilling time to about 2–3 hours.
Is this pie kid-friendly?
Yes. Skip the alcohol and use mild mint extract for young palates.
Conclusion
If you want a fast, impressive, and delicious dessert that keeps its cool—literally—this No-Bake Grasshopper Pie will become a staple in your recipe rotation. I love how it looks like you worked for hours but really just stacked a few smart moves. Try the basic version first, then experiment with toppings and booze if you feel wild.
Curious about other takes or want more visual inspiration? Check out this useful riff on the idea at No Bake Grasshopper Pie | The Domestic Rebel. Leave a comment and a rating if you make it—I read them and I genuinely care which topping you picked. Now go make one and tell me how it went!
No-Bake Grasshopper Pie
Ingredients
For the crust
- 1 1/2 cups chocolate cookie crumbs
- 1/2 cup unsalted butter, melted
For the filling
- 8 oz cream cheese, softened Use room temperature for easy mixing.
- 1 cup powdered sugar
- 1 teaspoon peppermint extract Start with less; you can adjust for more intensity.
- 2 cups whipped cream Whip to soft peaks for the best texture.
For the ganache
- 1 cup chocolate ganache Make using a 1:1 chocolate-to-cream ratio.
Instructions
Preparation
- In a mixing bowl, combine chocolate cookie crumbs and melted butter, then press into the bottom of a pie dish to form the crust. Ensure it’s pressed firmly.
- In another bowl, beat the softened cream cheese and powdered sugar until smooth, achieving a silky texture.
- Add peppermint extract to the cream cheese mixture and mix well. Taste and adjust for desired mint flavor.
- Gently fold in the whipped cream until fully combined, maintaining an airy texture.
- Pour the filling into the prepared crust and smooth the top. Add a swirl for a decorative touch.
- Chill in the refrigerator for at least 4 hours to set the filling.
- Before serving, pour chocolate ganache over the pie and spread evenly.
- Slice and serve your refreshing dessert, enjoying the compliments!