
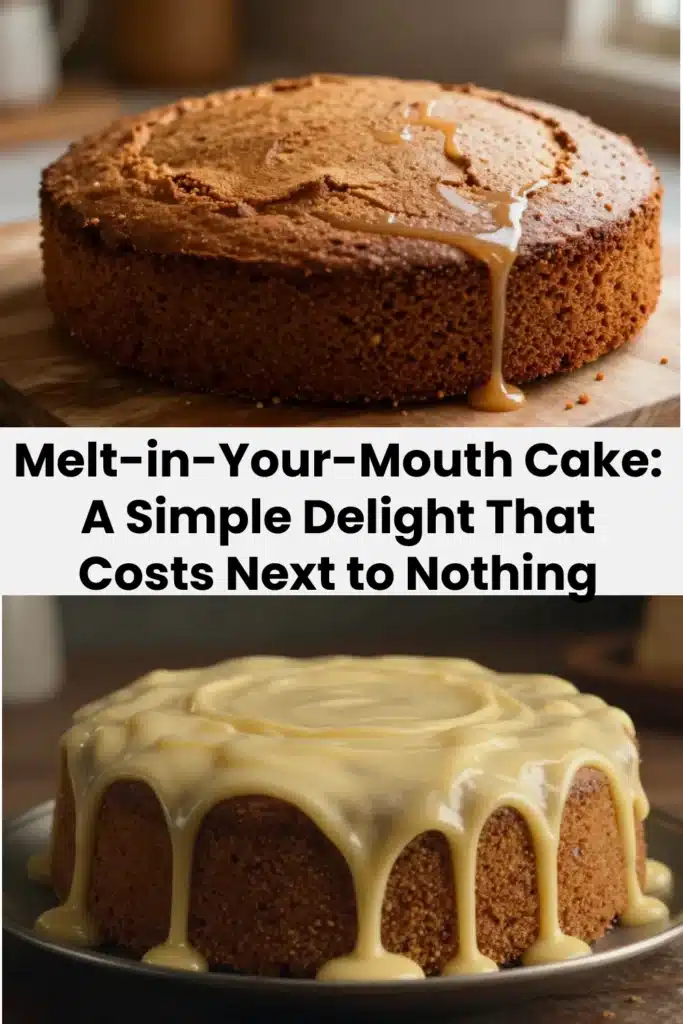
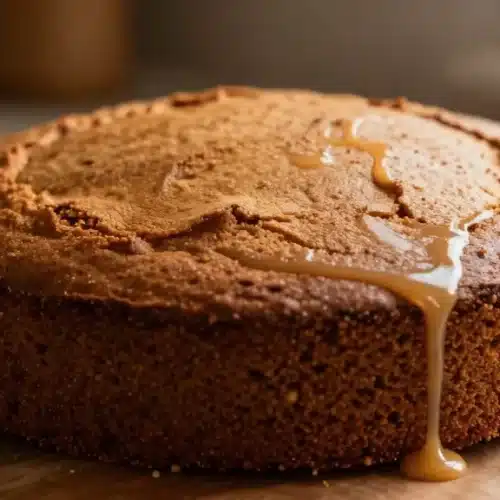
You know that feeling when a cake literally melts on your tongue and suddenly your problems look smaller? Yeah, that. I stumbled on this recipe on a rainy Sunday and I haven’t stopped making it since. This cake uses humble pantry staples, asks for very little effort, and tastes like something fancy you’d pay too much for at a cafe.
I’ll introduce the star ingredient in a sec, but first: if you love quick kitchen wins, you might also enjoy a clever low-carb snack I tried recently — here’s a handy link to a fun chaffle BLT idea I liked: chaffle BLT 5-minute keto-friendly. Trust me, you’ll thank me later.

Why You’ll Love This Recipe
- Super cheap: this cake costs next to nothing because it uses everyday ingredients.
- Effortless: you’ll spend more time preheating your oven than prepping the batter.
- Ridiculously soft texture: the crumb practically dissolves; I mean, who doesn’t want that?
- Versatile: serve it plain, dust with icing sugar, or go wild with fruit and cream.
- Reliable: I made it for guests and for a midnight snack; it impressed both crowds and me.
Ingredients You’ll Need
Ingredient:
- 150 grams (1 ½ cups) all-purpose flour
- 100 ml (½ cup) water
- 100 ml (½ cup) milk
- 80 grams (⅓ cup) butter
- 4 large eggs
- 1 teaspoon baking powder
- ½ teaspoon salt
- 500 ml (2 cups) milk
- 150 grams (¾ cup) sugar
- 100 grams (1 cup) all-purpose flour
- 2 large eggs
- 180 grams (¾ cup) butter
- Icing sugar or your favorite garnish
Yes, the ingredient list repeats some items. Think of it as a two-part cake — dough + cream filling — both cheap and both delicious. FYI, you already own most of this stuff.
How to Make (Step-by-Step)
STEP 1 — Preparing the Dough
- Preheat your oven to 180°C (350°F). I always set a timer so I don’t forget the cake like a sad science experiment.
- In a bowl, cream 80 g butter and 150 g sugar until light and fluffy. Beat in 4 eggs one at a time. I like to sing an upbeat song while I do it; harmless, entertaining, and improves consistency (possibly).
- Sift together 150 g (1 ½ cups) flour, 1 tsp baking powder, and ½ tsp salt. Fold the dry mix into the butter-egg mixture. Add 100 ml milk and 100 ml water alternately to loosen the batter.
- Pour the batter into a greased 9-inch round cake pan. Bake for 25–30 minutes or until a toothpick comes out clean. Let the cake cool completely. Cooling matters — if you skip it, the filling will melt like that soft spot in your sock drawer.
STEP 2 — Making the Cream Filling
- Warm 500 ml milk in a saucepan until it steams; don’t let it boil. Temper the next step like a careful peacemaker.
- In a separate bowl, whisk 100 g flour, 150 g sugar, and 2 eggs until smooth. Slowly pour the warm milk into the dry mix while whisking vigorously. This action prevents lumps and saves you from a sad, lumpy custard.
- Cook the mixture over medium heat, stirring constantly, until it thickens into a glossy custard. Remove from heat and stir in 180 g butter until smooth and silky. Chill the filling until it firms up slightly. Don’t rush this; patience equals creamy nirvana.
STEP 3 — Assembling the Cake
- Slice the cooled cake horizontally into two layers. If you don’t own a cake leveler, a serrated knife and slow breathing work fine.
- Spread a generous layer of the chilled cream filling on the bottom half. Add the top layer and press gently.
- Dust the top with icing sugar or add any garnish you love. Chill for at least an hour to let flavors marry. Slice, serve, and watch people make that pleasantly surprised face.
Pro Tips for the Best Results
- Use room-temperature eggs for better emulsification and airiness. Cold eggs kill the vibe.
- Beat butter and sugar until pale. This step gives the cake loft and a lighter crumb.
- Temper eggs when adding hot milk to avoid scrambled-egg custard. Nobody wants that.
- Cool the cake completely before layering to prevent the filling from melting into a sad puddle.
- Chill the custard slightly before spreading. It spreads more neatly and stays put.
- Check oven temps with an oven thermometer. Many ovens lie. I tested this and now I judge mine daily.
- Swap sugars: use golden caster sugar for a subtly richer flavor if you have it.
Fun Variations & Topping Ideas
Variations:
- Lemon twist: add lemon zest to the batter and a teaspoon of lemon juice to the filling. Fresh and zippy.
- Chocolate: mix 2 tbsp cocoa powder into the flour and add chocolate shavings between layers. Because chocolate fixes a lot.
- Vanilla bean: split a vanilla pod into the milk while warming for a fragrant custard. Fancy without the price tag.
Toppings:
- Fresh berries and a dusting of icing sugar for an elegant finish.
- Caramel drizzle and toasted nuts for crunchy contrast.
- Whipped cream and fruit compote for a brunch-worthy version.
Storing and Reheating
- Refrigerate: Store the cake in an airtight container for up to 3–4 days. The filling keeps the cake moist.
- Freeze: Wrap slices tightly and freeze for up to 1 month. Thaw overnight in the fridge.
- Reheat: Warm slices lightly in a microwave for 10–15 seconds to revive the texture. Use low power; you don’t want melted butter soup.
- Serving cold brings out the custard flavor; slightly warm brings comfort. Which do you prefer?
Leftover ideas
- Turn slices into a trifle: layer cake cubes with custard and jam. Easy and classy.
- Blend cake crumbs with a little milk and form into mini truffles; roll in cocoa or sprinkles.
- Use slices as a base for French toast; custard + egg = breakfast heaven. IMO, this tastes better than most boxed cereals.
Frequently Asked Questions (FAQ)
How long does the cake stay moist?
The cake stays moist for 3–4 days in the fridge if you store it in an airtight container. The custard helps keep everything soft.
Can I make this cake gluten-free?
Yes. Replace the flour with a 1:1 gluten-free flour blend and test the texture. The cake will still taste lovely, but expect a slightly different crumb.
Can I use margarine instead of butter?
You can, but butter gives the cake better flavor and mouthfeel. Use good quality butter if you want the best melt-in-your-mouth result.
Is this cake suitable for beginner bakers?
Absolutely. The method uses basic techniques and forgiving steps. Follow the instructions, breathe, and taste-test responsibly.
Conclusion
This cake combines cheap ingredients, simple techniques, and luxurious results—basically the holy grail of home baking. I call it a kitchen win you can whip up on a whim and serve wherever you want to impress without trying too hard. If you liked this version and want a different take from a trusted source, check out this well-loved Melt-in-your-mouth cake recipe for more inspiration.
Leave a comment with your favorite topping and drop a rating if you try it; I genuinely read them and I will probably steal your best ideas. And if you bake one now, please don’t tell anyone how little effort it took — let them think you’re a wizard. 😉
Melt-in-Your-Mouth Cake
Ingredients
For the Cake
- 150 grams 150 grams (1 ½ cups) all-purpose flour
- 100 ml 100 ml (½ cup) water
- 100 ml 100 ml (½ cup) milk
- 80 grams 80 grams (⅓ cup) butter For creaming
- 4 large 4 large eggs Room temperature for best results.
- 1 teaspoon 1 teaspoon baking powder
- 0.5 teaspoon ½ teaspoon salt
For the Cream Filling
- 500 ml 500 ml (2 cups) milk Warm for thickening
- 150 grams 150 grams (¾ cup) sugar
- 100 grams 100 grams (1 cup) all-purpose flour
- 2 large 2 large eggs Room temperature for best results.
- 180 grams 180 grams (¾ cup) butter For the creamy texture.
For Serving
- Icing sugar or your favorite garnish For dusting or decoration.
Instructions
Preparing the Dough
- Preheat your oven to 180°C (350°F).
- Cream 80 g butter and 150 g sugar until light and fluffy. Beat in 4 eggs one at a time.
- Sift together 150 g flour, 1 tsp baking powder, and ½ tsp salt. Fold into the butter-egg mixture.
- Add 100 ml milk and 100 ml water alternately to loosen the batter.
- Pour the batter into a greased 9-inch round cake pan. Bake for 25–30 minutes or until a toothpick comes out clean.
- Let the cake cool completely.
Making the Cream Filling
- Warm 500 ml milk in a saucepan until it steams; don’t let it boil.
- In a separate bowl, whisk 100 g flour, 150 g sugar, and 2 eggs until smooth. Slowly pour warm milk while whisking.
- Cook the mixture over medium heat, stirring constantly, until it thickens into a glossy custard.
- Remove from heat and stir in 180 g butter until smooth and silky. Chill until it firms up slightly.
Assembling the Cake
- Slice the cooled cake horizontally into two layers.
- Spread a layer of the chilled cream filling on the bottom half. Add the top layer and press gently.
- Dust the top with icing sugar or add any garnish. Chill for at least an hour.