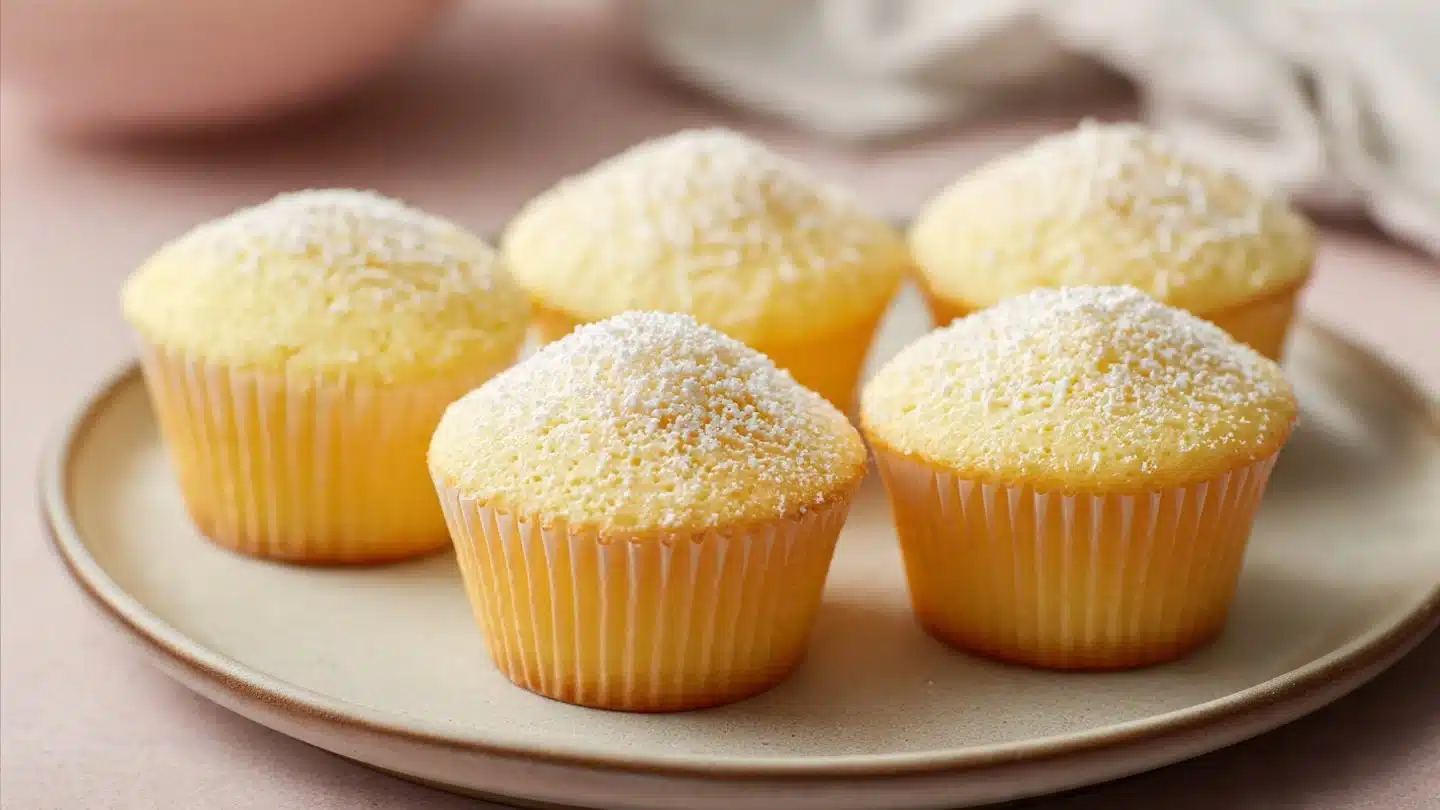
Fluffy Japanese Cheesecake Cupcakes: Decadent Asian Desserts Made Easy!
Hook time: if you crave cheesecake that feels like a cloud and cupcakes that don’t weigh your soul down, you just found your new obsession. I first tried these when I wanted dessert that felt fancy but didn’t scream “I spent three days baking this.” The star ingredient? cream cheese, obviously — it gives that tang and silk while the whipped egg whites keep everything amazingly airy.
In this article, I’ll walk you through the ingredients, the method, and my tried-and-true tips so your cupcakes rise tall, look cute, and actually taste like something you’d gladly eat for breakfast. Sound good? Let’s get fluffy.
Why You’ll Love This Recipe
- Cloud-like texture that melts in your mouth.
- Light sweetness that doesn’t overwhelm the cream cheese tang.
- Quick-ish prep compared to making a whole cake.
- Crowd-pleaser for brunch, tea, or a low-key dinner party.
- Versatile base: you can dress them up or keep them pure and simple.
Ingredients You’ll Need
- 200g cream cheese
- 50g unsalted butter
- 100ml milk
- 3 large eggs, separated
- 100g granulated sugar
- 1 tsp vanilla extract
- 50g all-purpose flour
- 10g cornstarch
- a pinch of salt
- Powdered sugar for dusting
Yes, that’s all. Minimal drama, maximum payoff.
How to Make (Step-by-Step)
Follow these steps exactly and reward yourself with the softest cupcakes you’ve ever made.
1. Preheat and prep
- Preheat the oven to 320°F (160°C) and line a cupcake tray with paper liners.
- Make sure your oven racks sit in the middle so heat circulates evenly.
- Warm the milk slightly if it feels straight-from-the-fridge cold.
2. Melt cream cheese mix
- In a saucepan, melt the cream cheese, butter, and milk together until smooth.
- Stir constantly so nothing burns or clumps.
- Remove from heat as soon as the mixture looks silky.
3. Combine yolks and flavor
- Remove from heat and let it cool slightly. Stir in the egg yolks one at a time, followed by vanilla extract.
- Don’t rush this; hot mixture can cook the yolks if you’re careless.
- Stir until everything looks glossy and combined.
4. Add dry ingredients
- Sift in the flour and cornstarch, mixing until just combined.
- Use a whisk or spatula to avoid lumps.
- Overmixing will tighten the batter, and we want lightness, not gluten yoga.
5. Whip the whites
- In a separate bowl, whisk the egg whites and salt until soft peaks form. Gradually add the sugar while whisking until stiff peaks form.
- Use a hand or stand mixer; this step rewards patience.
- Stiff peaks should hold shape and feel glossy.
6. Fold gently
- Gently fold the egg whites into the cream cheese mixture in three parts until no white streaks remain.
- Use a spatula and scoop from bottom to top to preserve air.
- Resist the urge to pour and stir like it’s pancake batter.
7. Fill liners
- Divide the batter evenly among the cupcake liners, filling each about 2/3 full.
- Tap the tray lightly to remove large air pockets.
- If you want taller domes, fill slightly higher but don’t overfill.
8. Water bath baking
- Place the tray in a larger baking dish filled with hot water (water bath) and bake for about 25-30 minutes or until golden.
- The water bath keeps edges gentle and prevents cracking.
- Peek only once near the end to check color; ovens vary.
9. Cool gradually
- Let them cool in the oven with the door slightly ajar for about 10 minutes, then remove and let cool completely.
- This slow cooldown prevents sudden collapse.
- Patience here equals fluffy success.
10. Dust and serve
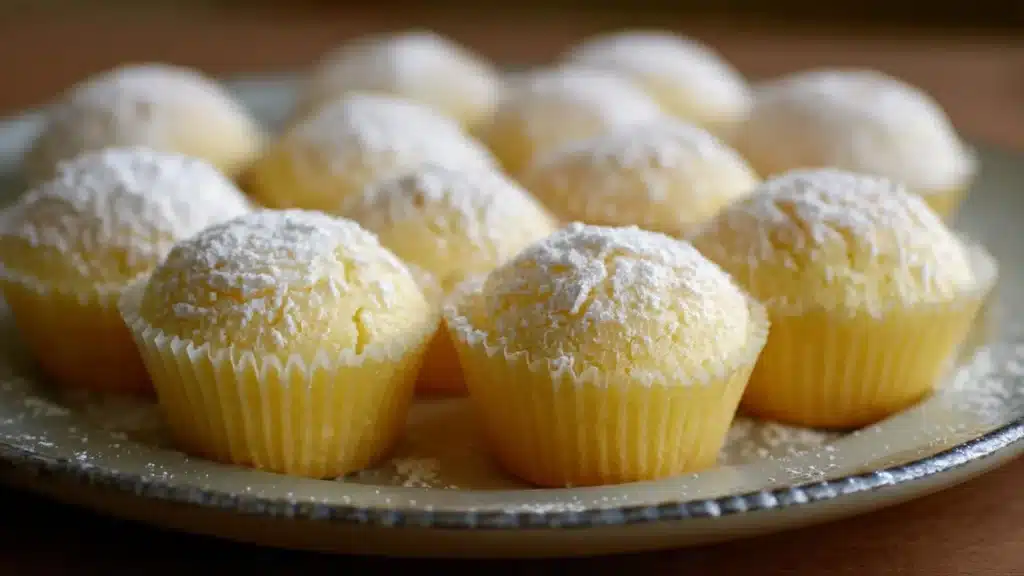
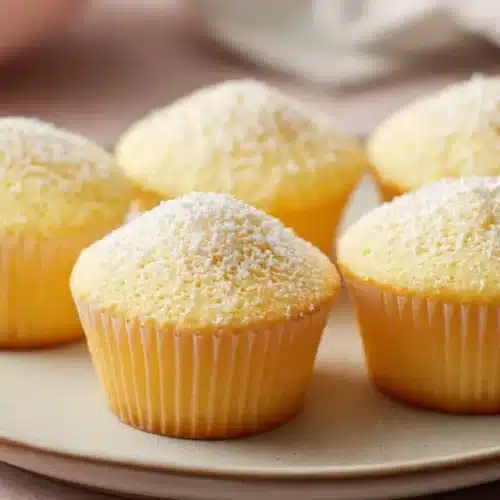
- Dust with powdered sugar before serving.
- Add any toppings right before serving to keep the texture perfect.
Ingredient and Method (Didactic)
I kept the Ingredient list short so you can shop quickly. The Method emphasizes two things: gentle folding and a water bath. Those two techniques produce the signature cottony texture. Stick to them, and you’ll look like you know what you’re doing.
Pro Tips for the Best Results
- Room temperature ingredients help everything combine smoothly.
- Sift dry ingredients to avoid lumps and help lightness.
- Whip egg whites properly: soft peaks first, then add sugar slowly to reach stiff peaks.
- Fold in stages: add egg whites in three parts to keep air.
- Use a water bath to avoid cracked tops and dry interiors.
- Cool gradually inside the oven with the door cracked to prevent sinking.
- Avoid overbaking; check a few minutes early. They should jiggle slightly in the center.
- Make them the day before if you want convenience; they slice and store well.
Fun Variations & Topping Ideas
I know what you think: “Cheesecake cupcakes should stay classic.” I agree… mostly. But a tiny twist can be fun.
Variations:
- Try adding corn for a weirdly delightful sweet crunch. Yes, really.
- Crumble in sausage for a savory-sweet experiment if you love chaos.
- Use these cupcakes as a base for a loaded potato soup concept—turn the tops into mini crouton-like garnishes. Wild? Maybe. Tasty? Potentially.
Toppings:
- Powdered sugar (classic)
- Fresh berries for a bright contrast
- Whipped cream for extra lushness
- Lemon curd if you like tangy kicks
- Caramel drizzle for decadence
- For a savory twist: bacon, cheddar cheese, green onions, sour cream
Yes, I said bacon and cheddar. Don’t judge until you taste.
Storing and Reheating
- Refrigerate: Store cupcakes in an airtight container for up to 3 days. The texture stays surprisingly good.
- Freeze: Wrap each cupcake tightly and freeze up to 1 month. Thaw overnight in the fridge.
- Reheat: Warm in a microwave for 6–8 seconds to bring back some softness. Don’t overdo it or they turn rubbery.
- Serve chilled or room temp: I prefer them slightly chilled, but they taste great either way.
Frequently Asked Questions (FAQ)
How do I prevent my cupcakes from collapsing?
Work gently when folding egg whites and cool the cupcakes slowly in the oven with the door ajar. Also, avoid overbaking.
Can I use low-fat cream cheese?
You can, but I don’t recommend it. Full-fat cream cheese gives flavor and structure you will miss otherwise.
Can I make these gluten-free?
Swap the all-purpose flour for a 1:1 gluten-free blend and ensure the blend contains xanthan gum. Results vary, but it can work.
Why use a water bath?
A water bath provides gentle, stable heat that prevents cracks and keeps the centers tender. Trust me, it matters.
Can I double the recipe?
You can double quantities, but bake in batches to maintain even heat and consistent rise.
Conclusion
These Fluffy Japanese Cotton Cheesecake Cupcakes hit that sweet spot between elegant and effortless. You’ll enjoy a silky cream cheese base, airy whipped whites, and a texture that practically dissolves on your tongue. Try them once and you’ll find yourself making variations just for the fun of it. If you want a visual guide or a compact version to follow later, I found a helpful reference here: Mini Japanese Cotton Cheesecake – INDY ASSA.
Fluffy Japanese Cheesecake Cupcakes
Ingredients
Cupcake Batter
- 200 g cream cheese Room temperature for easier mixing.
- 50 g unsalted butter Melt with cream cheese and milk.
- 100 ml milk Warm slightly before mixing.
- 3 large eggs, separated Separate the yolks and whites.
- 100 g granulated sugar Added gradually to egg whites.
- 1 tsp vanilla extract For flavor.
- 50 g all-purpose flour Sift for lightness.
- 10 g cornstarch Helps with texture.
- 1 pinch salt
- Powdered sugar for dusting For serving.
Instructions
Preparation
- Preheat the oven to 320°F (160°C) and line a cupcake tray with paper liners.
- Warm the milk slightly if it feels straight-from-the-fridge cold.
Making the Batter
- In a saucepan, melt the cream cheese, butter, and milk together until smooth, stirring constantly.
- Remove from heat and cool slightly. Stir in the egg yolks one at a time followed by the vanilla extract.
- Sift in the flour and cornstarch, mixing until just combined.
- In a separate bowl, whisk the egg whites and salt until soft peaks form. Gradually add sugar while whisking until stiff peaks form.
- Gently fold the egg whites into the cream cheese mixture in three parts until no white streaks remain.
Baking
- Divide the batter evenly among the cupcake liners and place the tray in a larger baking dish filled with hot water.
- Bake for about 25-30 minutes or until golden.
- Let them cool in the oven with the door slightly ajar for about 10 minutes before removing.
Serving
- Dust with powdered sugar before serving.