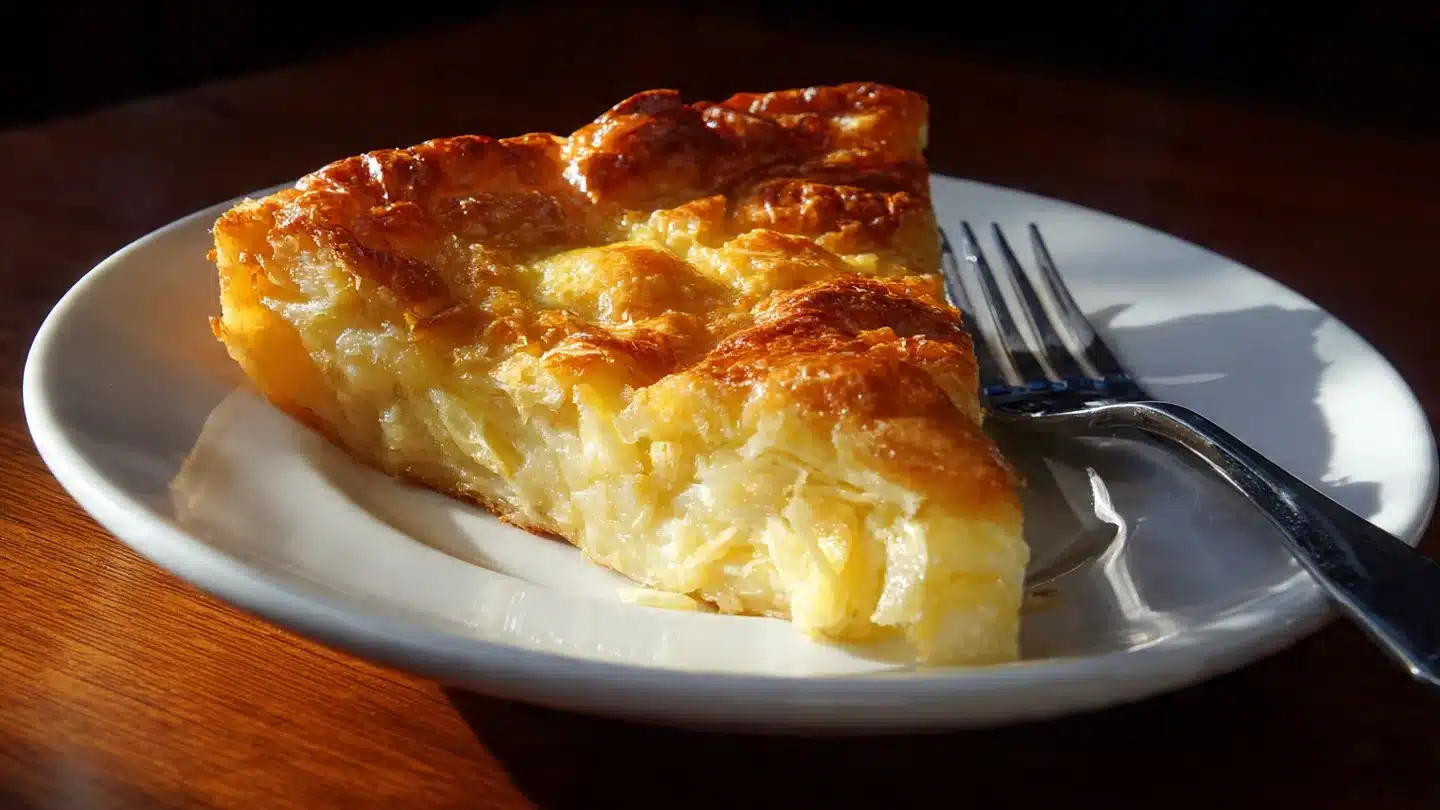
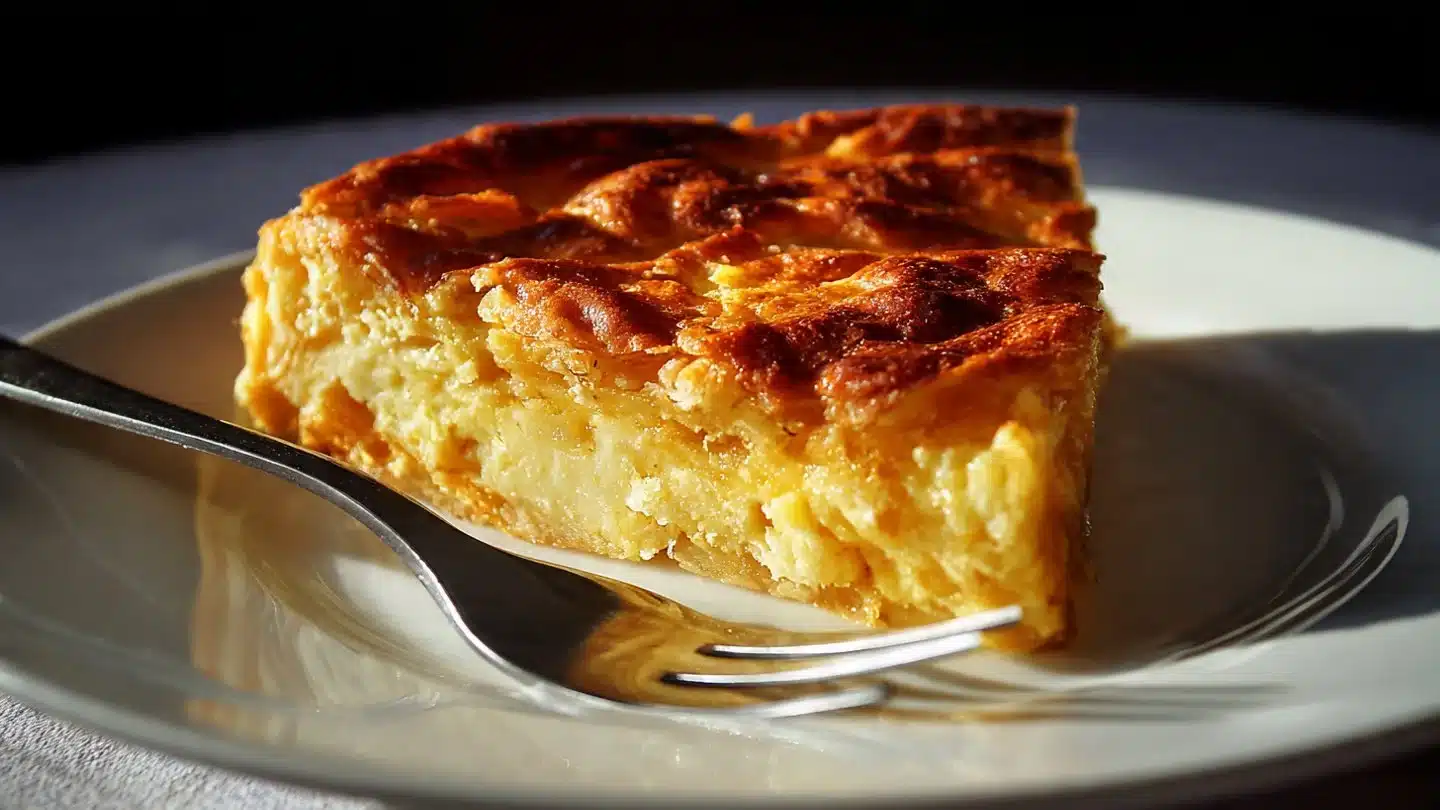
You know those moments when you want something impressive but refuse to haul out every mixer and ten bowls? I get it. I started making these Vanilla Custard Cream Squares when I wanted a fancy-looking dessert that didn’t require me to pretend I owned a pastry chef’s patience.
The star ingredient here is puff pastry — yes, frozen puff pastry saves lives and tastes fancy. I promise the custard and whipped cream make it feel like you worked way harder than you did.
By the end of this read you’ll have a clear ingredient list, a step-by-step method, kitchen-tested tips, fun variations, and answers to the questions you didn’t realize you had. If you like citrus twists, you might also enjoy my take on creamy lemon squares for a bright alternate dessert.
Why You’ll Love This Recipe
- Quick and impressive: You get a bakery-style dessert with minimal fuss.
- Versatile: You can swap flavors or toppings without wrecking the whole thing.
- Textural heaven: The contrast between flaky pastry, smooth custard, and airy cream delivers every bite.
- Guest-friendly: You can scale this up or down; it travels well.
- Beginner-proof: I tested this on friends who don’t bake; they called it “chef-y.” I accepted the compliment on behalf of the recipe.
Ingredients You’ll Need
Ingredient
- 1 sheet frozen puff pastry (thawed)
- 1 cup whole milk
- 1/2 cup granulated sugar
- 2 tablespoons cornstarch
- 2 large egg yolks
- 1 teaspoon pure vanilla extract
- 1 cup heavy whipping cream
- Powdered sugar (for dusting, optional)
How to Make (Step-by-Step)
STEP 1 — Preheat the Oven and Prepare the Pastry:
Preheat your oven to 400°F (200°C). I line a baking sheet with parchment to avoid heroic scraping later.
Unfold the thawed puff pastry on a lightly floured surface and gently roll to smooth the seams. I score a faint border about 1/4 inch from the edge to help the center sink and puff edges rise dramatically.
STEP 2 — Bake the Pastry Squares:
Transfer the pastry to the prepared sheet and prick the center lightly with a fork—don’t go crazy, just enough to keep the middle from inflating like a balloon. Place another piece of parchment over the pastry and weigh it down with another baking sheet or baking weights. Bake for about 15–18 minutes until the edges turn golden brown. Remove the weights and bake 3–5 minutes more if the center still looks underdone. Let the pastry cool completely on a wire rack.
STEP 3 — Make the Vanilla Custard:
In a saucepan, whisk together 1 cup whole milk, 1/2 cup sugar, and 2 tablespoons cornstarch until smooth. Heat the mixture over medium heat, stirring constantly. In a separate bowl, whisk 2 large egg yolks lightly, then temper them by adding a few spoonfuls of the hot milk mixture while whisking. Pour the tempered yolks back into the saucepan and continue cooking until the custard thickens and coats the back of a spoon. Remove from heat and stir in 1 teaspoon vanilla extract. Cover with plastic touching the surface to prevent a skin and cool.
STEP 4 — Whip the Cream:
Pour 1 cup heavy whipping cream into a chilled bowl, add a tablespoon of sugar if you like it sweeter, and whip to soft peaks. I usually stop at soft peaks because I like a light contrast to the dense custard. Fold about a third of the whipped cream into the cooled custard to lighten it, then gently fold the rest to keep it airy.
STEP 5 — Assemble the Squares:
Slice the baked pastry into even squares. Spread a layer of cooled custard on the bottom layer, then pipe or spread a generous layer of whipped cream on top. Add the top pastry square gently and press slightly to fuse the layers. Chill for at least 30 minutes to let flavors set.
STEP 6 — Finishing Touches (Optional):
Dust the tops with powdered sugar right before serving. Add fresh berries or a drizzle of melted chocolate if you want to pretend you’re extra fancy. I usually add a few raspberries for color and a tiny sting of tartness.
Pro Tips for the Best Results
- Use cold tools: Chill the bowl and whisk for whipping cream to speed up whipping.
- Temper yolks: Tempering prevents scrambled eggs and gives you silky custard.
- Control puffing: Weigh the pastry while it bakes to keep the center flat and perfect for layering.
- Cool fully: Assemble only when the pastry and custard reach room temperature to avoid sogginess.
- Make ahead: You can make the custard a day ahead and store it covered in the fridge.
Fun Variations & Topping Ideas
Variations:
- Lemon custard: Swap half the milk with lemon juice and add zest for a citrus pop.
- Chocolate custard: Stir in 2 ounces of melted dark chocolate into the hot custard.
- Coffee twist: Dissolve a teaspoon of instant espresso in a little hot milk and add to the custard for a mocha vibe.
- FYI: I once made a pistachio cream version inspired by a cupcake I love; it worked. Try a complementary treat like pistachio cupcakes with vanilla buttercream if you’re hosting a themed dessert table.
Toppings:
- Fresh berries (strawberries, raspberries, blueberries)
- Toasted nuts (almonds or pistachios)
- Cocoa powder or grated chocolate
- Fruit compote or berry coulis
- A light caramel drizzle
Storing and Reheating
Store assembled squares in an airtight container in the fridge for up to 2 days. I don’t recommend freezing assembled squares — the whipped cream and pastry texture suffer.
If you store pastry and custard separately, freeze the pastry for up to 1 month and keep the custard refrigerated for up to 3 days. Reheat pastry in a 350°F oven for 5–8 minutes to restore crispness before assembling.
Leftover ideas
- Break leftover squares into chunks and layer with extra custard or yogurt for a quick trifle.
- Crumble the pastry over ice cream as a crunchy topping.
- Fold small pieces of the square into chilled mascarpone for a rich dessert dip.
Frequently Asked Questions (FAQ)
How long does the custard take to set?
Custard thickens on the stovetop and firms in the fridge; allow at least 30–60 minutes in the refrigerator for best texture.
Can I use low-fat milk?
You can, but whole milk gives a creamier, richer custard. I prefer whole milk for the mouthfeel.
Can I make this vegan?
You can swap to plant-based puff pastry and use a cornstarch-thickened plant milk custard. You’ll need a thickener like silken tofu or vegan custard powder for a similar richness.
Can I assemble in advance for a party?
Yes. Assemble up to a day ahead and store covered in the fridge. Add fresh toppings just before serving to keep things photogenic.
Conclusion
These Vanilla Custard Cream Squares give you flaky pastry, smooth custard, and pillowy whipped cream without a dramatic time investment. I love how people assume I spent hours when I actually took shortcuts that work. Try the method, tweak a topping, and tell me which variation stole the show. For another take or inspiration, check out the original the 12 Tomatoes Vanilla Custard Cream Squares recipe and compare notes.
Please leave a comment and a rating if you try this — I read every one and I’ll cheer for your baking success. 😉
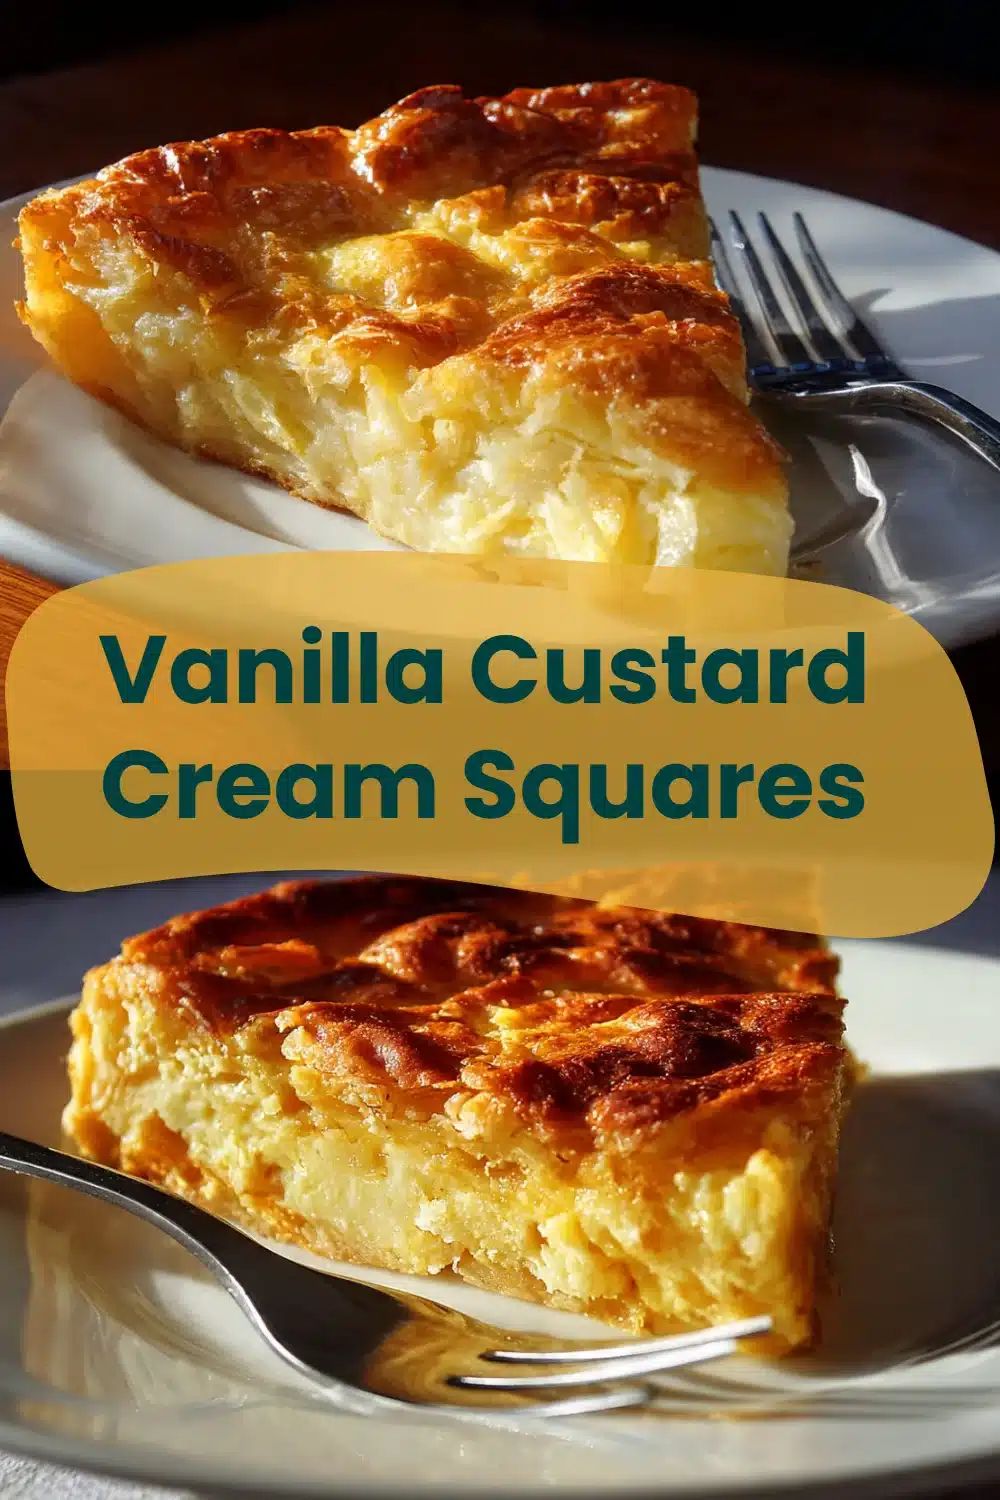

Vanilla Custard Cream Squares
Ingredients
For the Pastry
- 1 sheet frozen puff pastry (thawed)
For the Vanilla Custard
- 1 cup whole milk
- 1/2 cup granulated sugar
- 2 tablespoons cornstarch
- 2 large egg yolks
- 1 teaspoon pure vanilla extract
For the Whipped Cream
- 1 cup heavy whipping cream
- Powdered sugar (for dusting, optional)
Instructions
Preparation
- Preheat your oven to 400°F (200°C). Line a baking sheet with parchment.
- Unfold the thawed puff pastry on a lightly floured surface and gently roll to smooth the seams. Score a faint border about 1/4 inch from the edge.
Bake the Pastry Squares
- Transfer the pastry to the prepared sheet and prick the center lightly with a fork. Place another piece of parchment over the pastry and weigh it down with another baking sheet. Bake for 15–18 minutes until the edges turn golden brown. Remove the weights and bake an additional 3–5 minutes if needed. Let the pastry cool completely on a wire rack.
Make the Vanilla Custard
- In a saucepan, whisk together whole milk, sugar, and cornstarch until smooth. Heat over medium heat, stirring constantly.
- In a separate bowl, whisk egg yolks lightly, then temper them by adding hot milk mixture while whisking. Pour the tempered yolks back into the saucepan and continue cooking until the custard thickens. Stir in vanilla extract and cover with plastic wrap.
Whip the Cream
- Whip heavy cream in a chilled bowl to soft peaks. Fold a third of the whipped cream into the cooled custard, then gently fold in the remaining whipped cream.
Assemble the Squares
- Slice the baked pastry into even squares. Spread a layer of cooled custard on the bottom layer, then pipe or spread a layer of whipped cream on top. Add the top pastry square and press slightly. Chill for at least 30 minutes.
Finishing Touches
- Dust the tops with powdered sugar before serving. Add fresh berries or a drizzle of melted chocolate if desired.