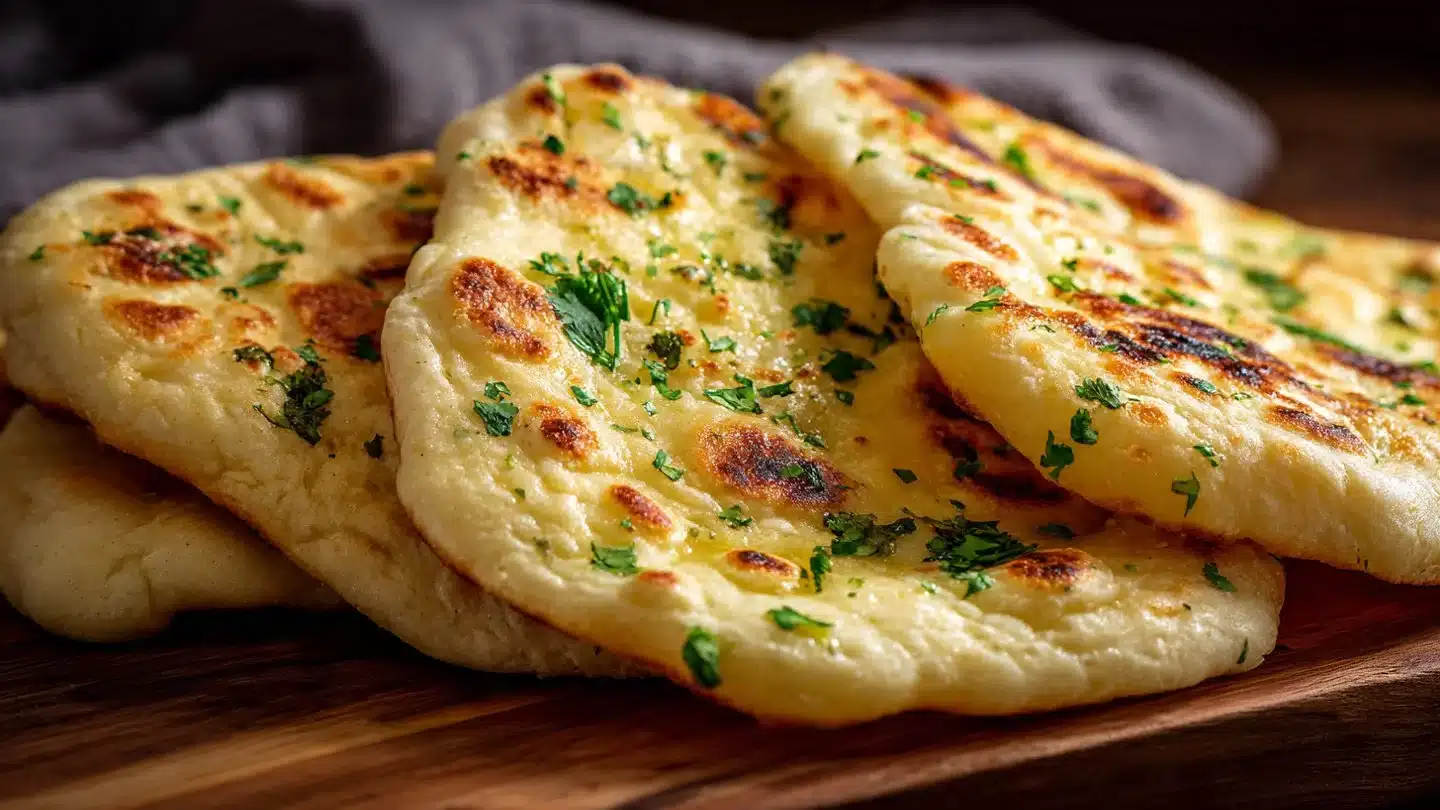
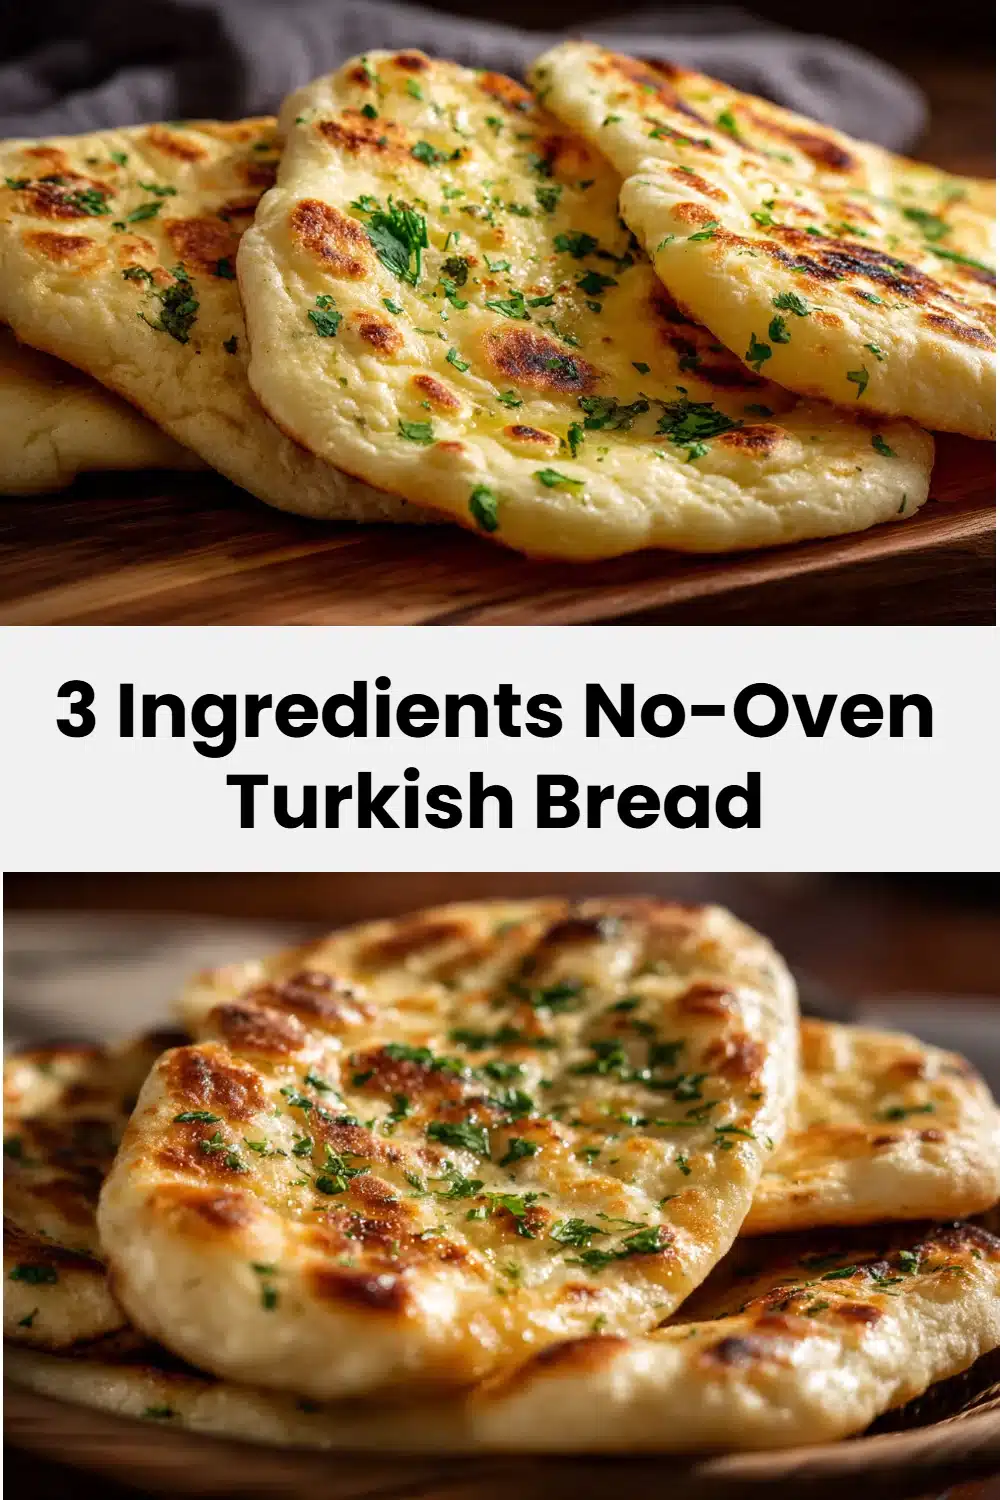
So, have you ever craved delicious, warm bread and thought, “Why does this have to be so complicated?” I totally get it! Enter Bazlama, the Turkish flatbread that will transform your bread game. It’s easy, it’s forgiving, and oh boy, does it taste divine! Plus, you don’t even need an oven for it. Just three simple ingredients stand between you and some seriously tasty bread! If you’re looking to impress friends or just treat yourself, stick around; I’m here to guide you through this delightful homemade adventure!
Why You’ll Love This Recipe
Let’s talk about the perks because who doesn’t want to know why they should whip out their mixing bowl? Here’s what makes this Bazlama recipe a game changer:
- Super Simple: Just three ingredients? Yep, you heard that right. Less stress and more bread. Who doesn’t like that?
- No Special Equipment: You only need a pan. No oven, no problem!
- Versatile: Whether you’re using it for sandwiches, dipping it in hummus, or just slathering it with butter, it can do it all.
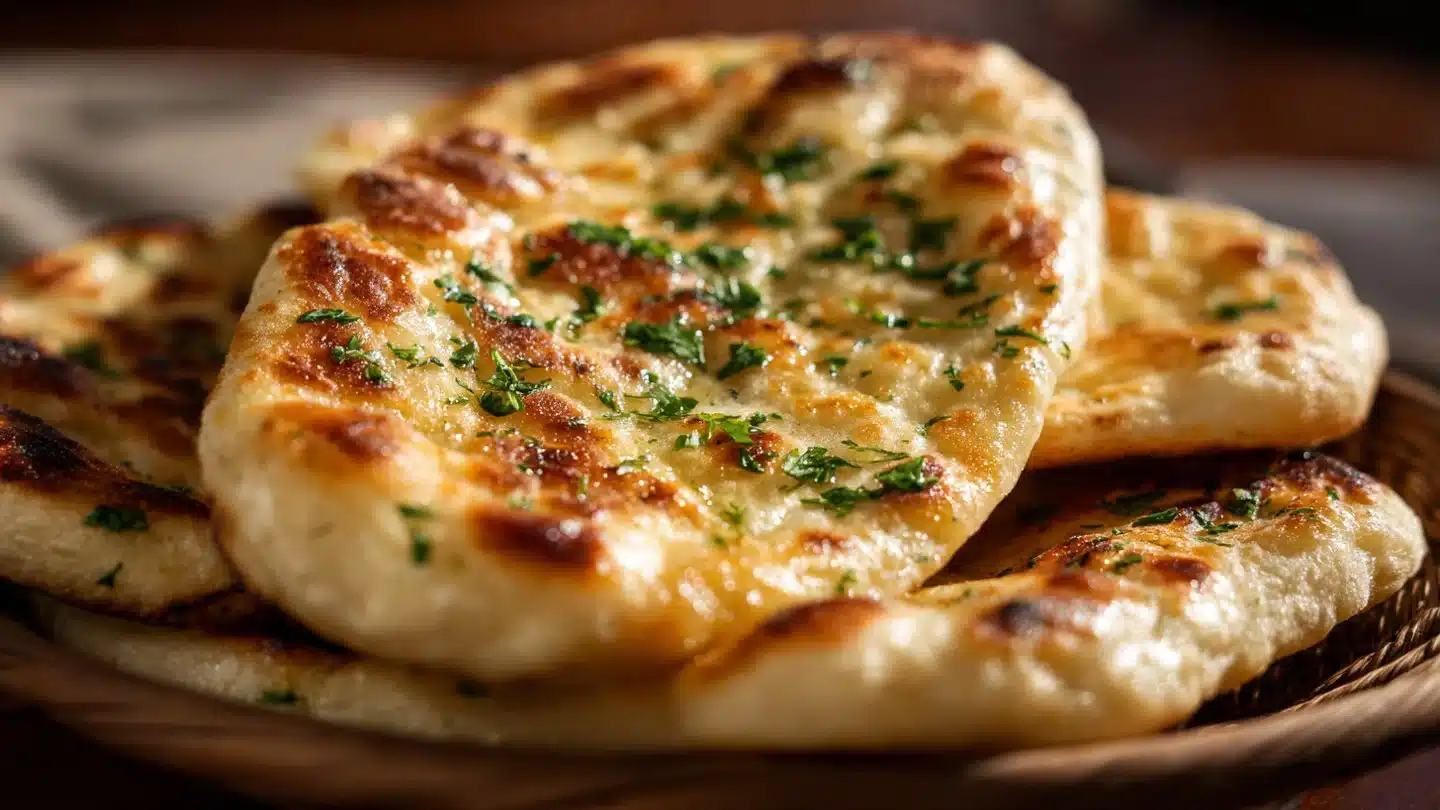
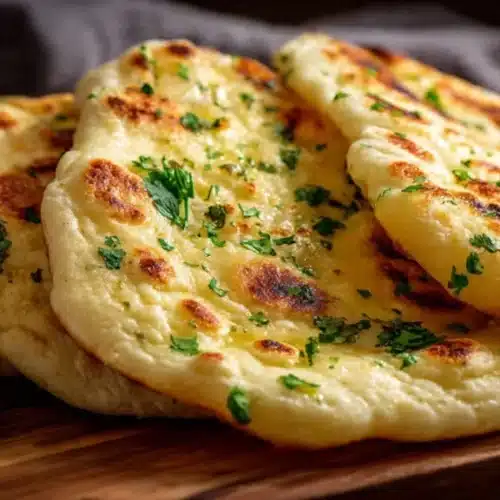
- Fluffy & Delicious: You’ll get that sought-after crispy exterior with a warm, fluffy inside. Trust me, it’s heaven on your plate!
- Perfect for All Occasions: Snack time, lunchtime, or dinner—this bread fits right in.
Ingredients You’ll Need
Alright, friends, let’s break down the shopping list. You might already have most of these at home. Here’s what you need for your no-oven Turkish Bazlama:
- 500 g Bread flour or all-purpose flour (about 4 cups)
- 160 ml Warm milk (around 2/3 cup)
- 160 ml Warm water (around 2/3 cup)
- 10 g Instant dry yeast (about 1.5 tbsp)
- 10 g Sugar (about 1 tbsp)
- 8 g Salt (about 0.8 tbsp)
- 20 g Melted unsalted butter (or olive oil)
- Chopped parsley (optional, but it adds a nice touch)
How to Make It (Step-by-Step)
Ready to get your hands doughy? Let’s jump into the step-by-step instructions! 🥖
STEP 1: Combine the Liquids and Yeast
Pour your warm milk, warm water, sugar, and yeast into a container. Mix them well. Just think of it as an intro for the yeast to get cozy and bubbly—nice and warm!
STEP 2: Add the Dry Ingredients
Now, sprinkle in the flour and salt. Mix it up until it’s all incorporated. It’s like a family reunion in there—everyone’s getting together!
STEP 3: Knead the Dough
Time to get a little physical! Knead the dough by hand until it’s no longer sticky and the surface is smooth. You want a dough that’s not a drama queen; it should be soft yet elastic.
STEP 4: Let It Proof
Cover the dough and let it proof until it has doubled in size—about 1 hour. Seriously, just let it chill. It’s like waiting for your favorite show to load. Good things come to those who wait!
STEP 5: Shape the Dough
Once it’s puffed up like a football, divide the dough into six pieces and shape them into rounds. Cover them with a plastic bag so they don’t dry out.
STEP 6: Roll It Out
Grab a rolling pin and flatten each round into a circle about 18 cm in diameter and 5 mm thick. This is where your Bazlama starts to take shape!
STEP 7: Heat the Pan
Turn on the stove and heat your pan over medium heat. Now’s the time to feel like a kitchen superhero!
STEP 8: Bake the Bread
Place the dough rounds in the pan. When you see lots of bubbles forming, it’s time to flip the bread over to the other side. You want it golden brown—so don’t rush!
STEP 9: The Magic Moment
When it pops up like a balloon, turn the heat down to low. Cover with a cloth to keep it nice and warm while it cooks through.
STEP 10: Finish It Off
Once it’s done, brush the bread with a little butter or olive oil. Boom! You did it. Now enjoy that warm fluffiness you’ve created!
Pro Tips for the Best Results
- Right Temperature: Ensure your milk and water are warm—not boiling. This helps the yeast do its magic without getting burned.
- Thicker Pan: Use a thick-bottomed pan, otherwise your bread may not rise as beautifully. Think of it as treating your bread to a cozy blanket!
- Add Herbs: Feel free to toss in some chopped parsley or other herbs for an extra flair.
- Patience is Key: Give your dough time to proof and breathe! It’s not just bread; it’s a Labor of Love™
Fun Variations & Topping Ideas
Variations:
- Garlic Bazlama: Add minced garlic to your dough for a flavorful twist.
- Cheesy Delight: Throw in shredded cheese for a melty, savory experience.
- Spice It Up: Experiment with spices like paprika or cumin for different flavors.
Toppings:
- Hummus: Perfect for dipping and snacking!
- Avocado Smash: Because who doesn’t love a little avocado on their bread?
- Simple Butter or Olive Oil: Keep it classic—simple is often best!
Storing and Reheating
Storing:
Store your bazlama in an airtight container at room temperature. They can last about 1-2 days—if you can resist eating them all right away!
Reheating:
Pop it on a hot pan for a minute or two to bring back that lovely warmth! Or, wrap it in foil and toss it in the oven for a few minutes.
Leftover Ideas
Got leftovers? You could always make a scrumptious breakfast sandwich, toast it with jam for a sweet treat, or even use them to whip up a dinner pizza. The ideas are endless—let your creativity run wild!
Frequently Asked Questions (FAQ)
What if I don’t have instant dry yeast?
No stress! You can use active dry yeast, but you’ll need to activate it first in warm water with a bit of sugar for about 5-10 minutes.
Can I make this dough ahead of time?
Absolutely! You can prep the dough and store it in the fridge for up to 24 hours. Just let it come back to room temperature before you start cooking.
Is Bazlama gluten-free?
Sadly, traditional Bazlama uses wheat flour, but you can experiment with gluten-free flour. Just know the texture might change a bit.
Conclusion
So there you have it, friends! Bazlama is not just a bread; it’s your new kitchen buddy that requires little effort but brings a whole lot of joy. Whether you’re dipping it, stuffing it, or just tearing off a piece for yourself, I promise it’ll hit the spot. If you try this recipe, don’t forget to leave a comment and a rating! Your friends will think you’re a wizard in the kitchen, and really, why not let them? Now go forth and bake this easy, fluffy bread—your taste buds will thank you!
Turkish Bazlama Bread
Ingredients
Dough Ingredients
- 500 g Bread flour or all-purpose flour About 4 cups
- 160 ml Warm milk Around 2/3 cup
- 160 ml Warm water Around 2/3 cup
- 10 g Instant dry yeast About 1.5 tbsp
- 10 g Sugar About 1 tbsp
- 8 g Salt About 0.8 tbsp
- 20 g Melted unsalted butter Or olive oil
- Chopped parsley Optional, for garnish
Instructions
Preparation
- Combine warm milk, warm water, sugar, and yeast in a container and mix well to activate the yeast.
- Sprinkle in the flour and salt, then mix until all is incorporated.
- Knead the dough by hand until it is smooth and elastic.
- Cover the dough and let it proof until it doubles in size, about 1 hour.
- Divide the dough into six pieces and shape them into rounds, covering with a plastic bag.
- Flatten each round into a circle about 18 cm in diameter and 5 mm thick.
Cooking
- Heat a pan over medium heat.
- Place the dough rounds in the pan. When bubbles form, flip to cook the other side until golden brown.
- When the bread puffs up, lower the heat, cover with a cloth, and continue cooking.
- Brush the finished bread with butter or olive oil and serve warm.