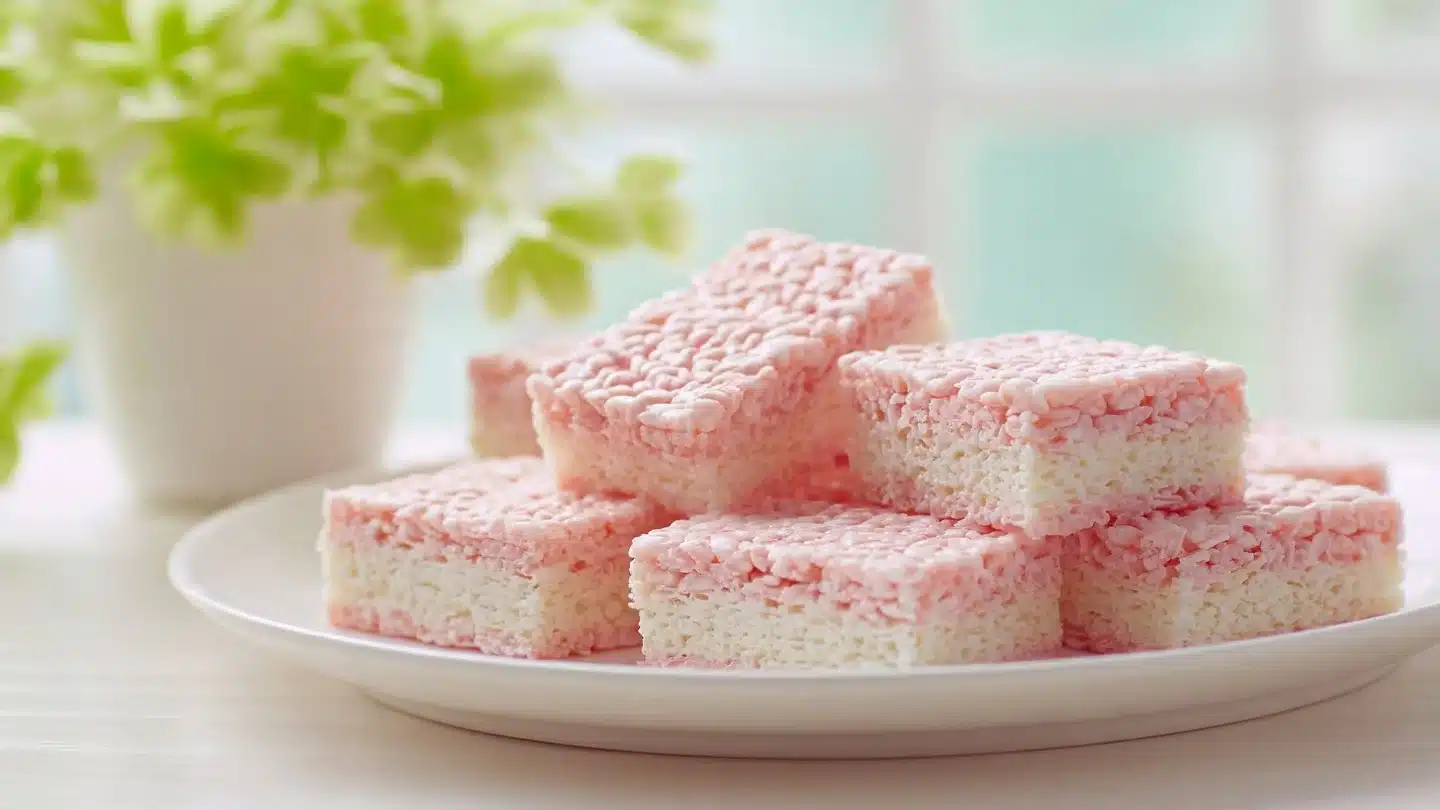
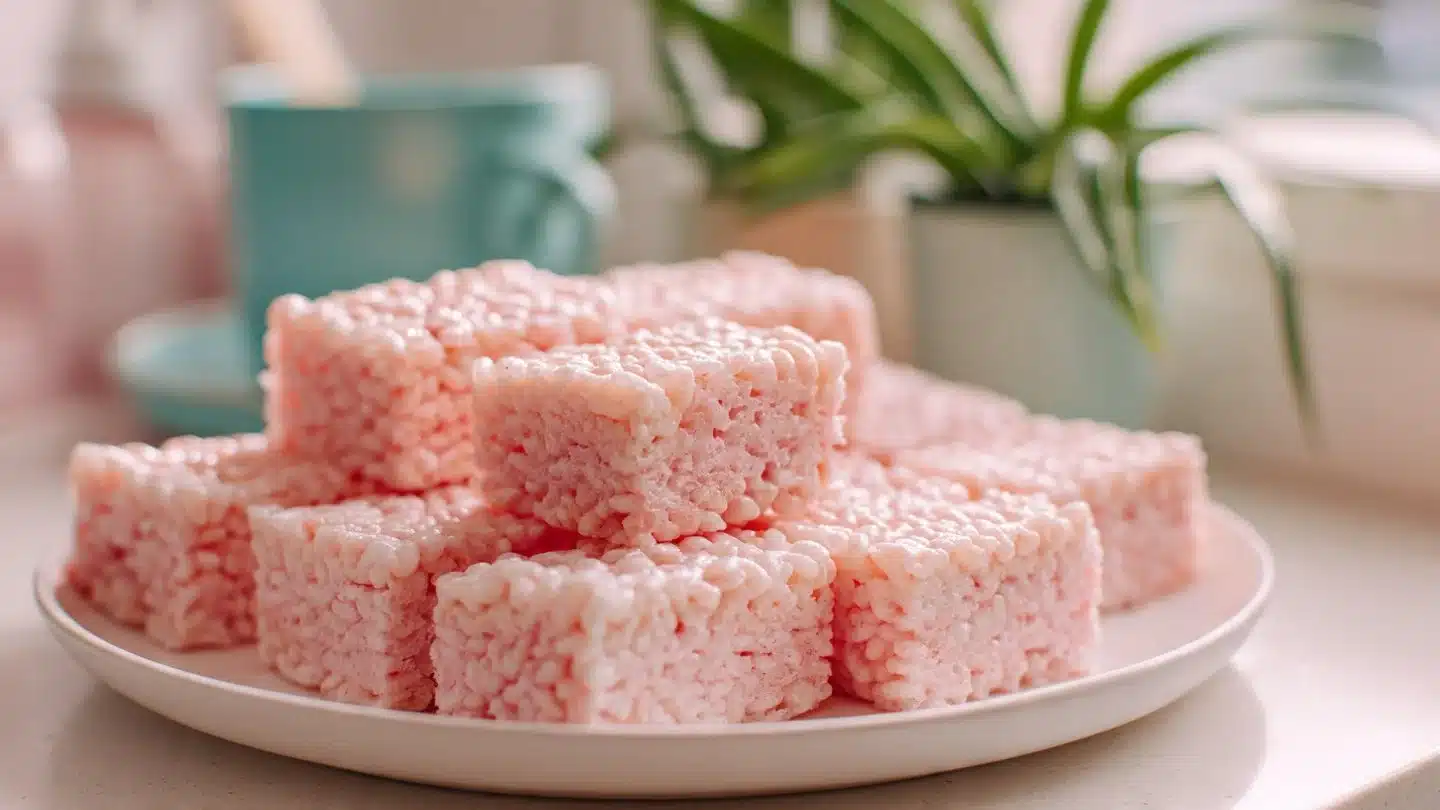
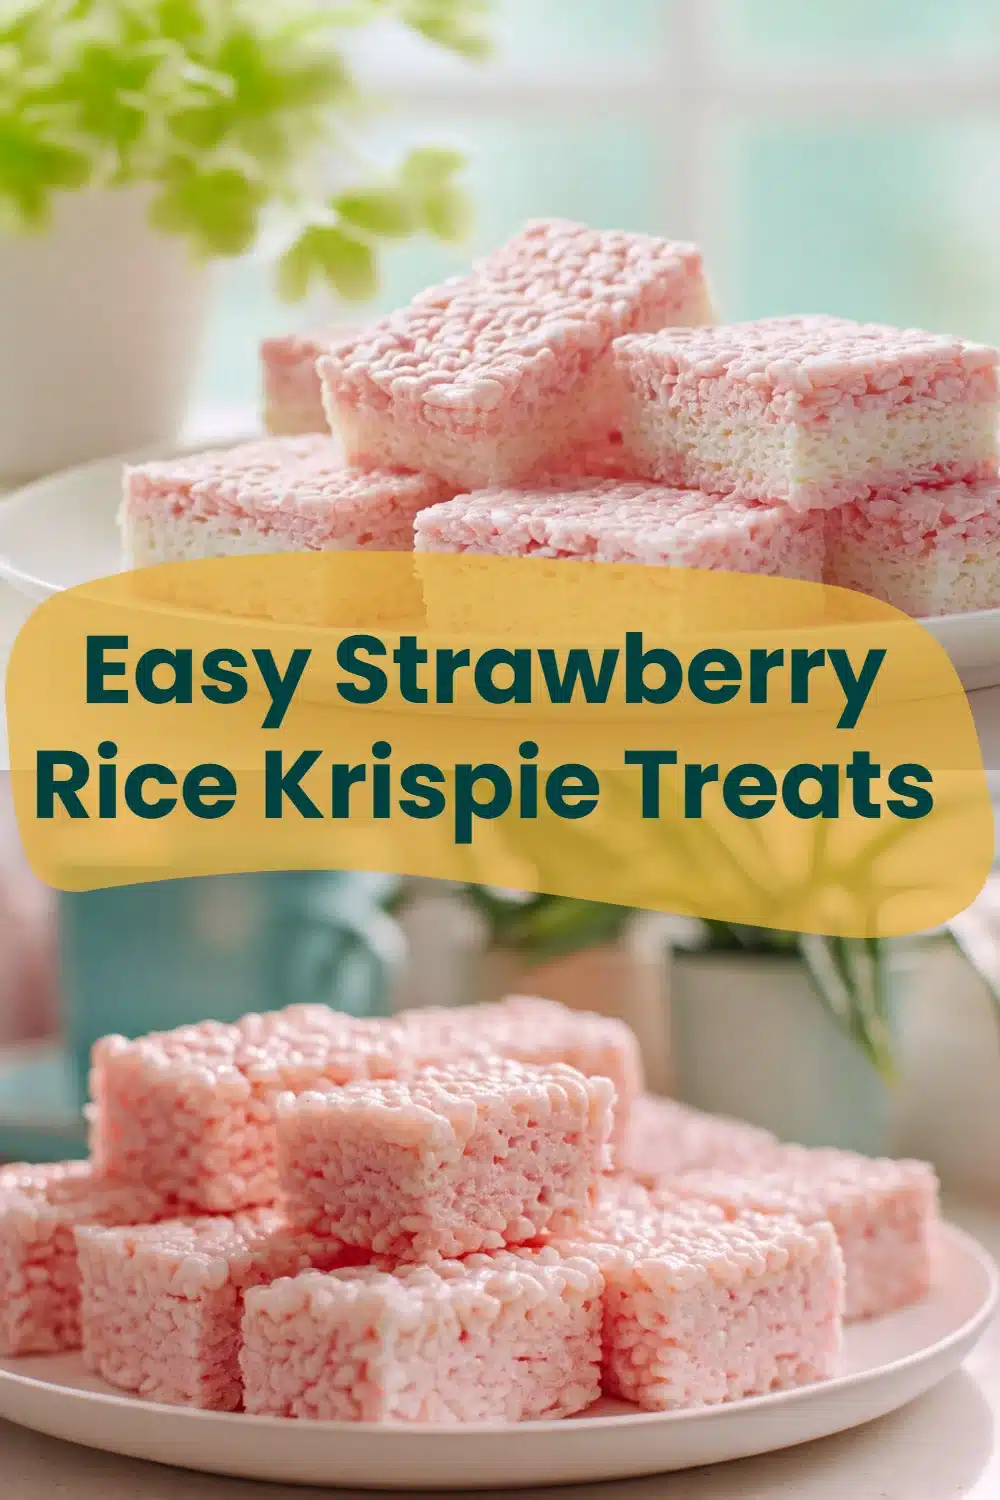
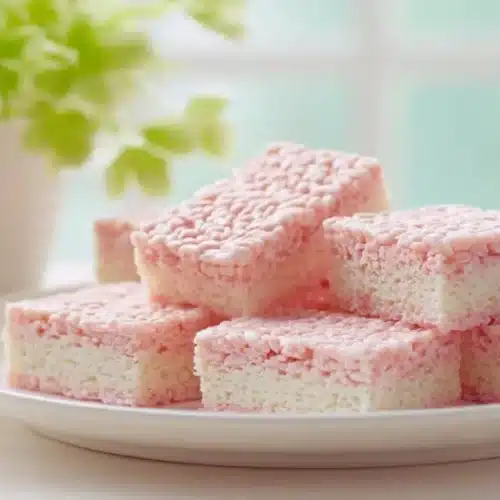
This Ridiculously Easy Strawberry Rice Krispie Treats recipe is about to become your go-to for any gathering, picnic, or midnight snack attack. It takes just 15 minutes to whip up and serves about 12 (or just you if you’re feeling snacky). Yes, I’m talking about that sweet, chewy, marshmallowy goodness with a delightful strawberry twist. So grab your ingredients, and let’s get treat-making!
The Story Behind
Let’s get real for a moment. Who hasn’t had Rice Krispie Treats at some point in their life? They’re the classic school lunch box treat that always manages to make you feel nostalgic. But then, someone had the genius idea to toss strawberries in the mix. Enter the star of our show: freeze-dried strawberries. These little guys bring flavor and a pop of color that makes your treats look and taste like summer. Trust me; you’re about to get a berry delightful treat that will wow your friends and family!
5 Reasons You’ll Love This Recipe
- Super Simple: Seriously, if you can melt butter, you can make these treats.
- Customizable: Feel free to switch up the fruit or add in some sprinkles—your creativity is the limit!
- Kid-Friendly: Little hands can easily help mix these up. Who doesn’t love a family baking session?
- Great for Gifting: Wrapped up pretty, these treats make for a sweet gesture to brighten someone’s day.
- Perfectly Portable: Whether you’re heading to a potluck or just chilling at home, these are easy to take anywhere.
Ingredients You’ll Need
Here’s what you’ll need to create your Strawberry Rice Krispie Treats. Make sure to grab everything before you start!
IngredientQuantityNotesButter½ cup (1 stick or 4 ounces)Melt-in-your-mouth deliciousness!Mini Marshmallows16 ounces (divided)Add more for super gooey treats.Vanilla Extract1 teaspoonPure flavor magic!Pink Food Coloring (optional)1-2 dropsJust for aesthetics, but why not?Crispy Rice Cereal5 cupsGo with Rice Krispies for the classic taste.Freeze-Dried Strawberries2 ouncesThey often come in 1-ounce bags, so you’ll need 2!
How to Make (Step-by-Step)
STEP 1: Prep
First things first, get your workspace ready! Grab a large saucepan and a spatula. I like to spray my baking pan with a bit of cooking spray for easy removal later—it saves a ton of heartache when it comes time to cut.
STEP 2: Melt the Butter and Marshmallows
In your saucepan, melt ½ cup of butter over low heat. Once it’s all nice and melted, toss in 16 ounces of mini marshmallows. Stir until they completely melt, and everything is creamy. It’s like a marshmallowy dream come true!
STEP 3: Add Flavor
Once the marshmallows are melty goodness, stir in 1 teaspoon of vanilla extract and a couple drops of pink food coloring (if you’re feeling fancy). This will enhance the strawberry flavor while giving your treats a lovely color.
STEP 4: Mix in Dry Ingredients
Now, here comes the fun part. Remove the saucepan from heat and fold in the 5 cups of crispy rice cereal until everything is thoroughly coated. It’s just as satisfying as it sounds!
STEP 5: Add Strawberries
Crush your 2 ounces of freeze-dried strawberries into smaller pieces (not dust, but just enough to get those beautiful flavor bombs). Gently fold them into the crispy mixture. You’ll want to savor the moment—you’re almost there!
STEP 6: Pour and Set
Transfer the mixture to your greased baking pan and use a spatula to press it down evenly. Don’t squish too hard; you want them to stay fluffy. Let them cool for about 30 minutes before cutting into squares.
Pro Tips for the Best Results
- Use Fresh Ingredients: The fresher your ingredients (especially the strawberries), the better your treats will taste!
- Don’t Overheat: Keep that heat low. Too high, and your marshmallows could burn. No one likes burnt marshmallows!
- Store Properly: Keep your treats in an airtight container to maintain freshness. They’re best eaten within 3 days.
Fun Variations & Topping Ideas
Variations:
- Swap out the strawberries for blueberries or raspberries for a different fruity twist.
- Add in some peanut butter for a savory contrast—oh yes, peanut butter lovers rejoice!
- Combine with chocolate chips or drizzle melted chocolate on top for the chocolate lovers.
Toppings:
- Sprinkle some shredded coconut for a tropical vibe.
- Use crushed nuts for a bit of crunch.
- Drizzle with caramel sauce for that extra indulgence.
Storing and Reheating
Storing:
To keep these treats fresh and delicious, store them in an airtight container at room temperature. They should last about 3 days before you need to worry.
Reheating:
If you want to warm up leftover treats (because who wouldn’t?), pop them in the microwave for just a few seconds. This makes them all gooey and delightful again—trust me, it’s worth it!
Leftover Ideas
So, what to do with leftovers? Aside from gobbling them up as is, you can chop them up and mix them into yogurt for a fun breakfast bowl. Or crumble them over ice cream for an easy dessert hack. Seriously, the possibilities are endless!
Frequently Asked Questions (FAQ)
How do I get the best texture for my Rice Krispie Treats?
To ensure your treats are perfectly chewy, don’t overpack them in the pan. Let the mixture settle naturally.
Can I make them ahead of time?
Absolutely! Just store them in an airtight container as mentioned earlier. They can stay fresh for 2-3 days.
Can I use regular strawberries instead of freeze-dried?
You can, but fresh strawberries will add moisture, making your treats soggier than you want. Stick with freeze-dried for best results!
What’s the best way to cut them?
Use a sharp knife and spray it with a bit of cooking spray to help prevent sticking.
Conclusion
In a nutshell, these Ridiculously Easy Strawberry Rice Krispie Treats will not only satisfy your sweet cravings but also bring a little sunshine into your life. So whether you’re baking for yourself or sharing with friends, this recipe is a win. If you whip these up, I’d love to hear how they turned out! Feel free to leave a comment and a rating on the recipe. And for even more ideas, check out this fantastic link, and happy snacking!
Strawberry Rice Krispie Treats
Ingredients
For the Treats
- ½ cup Butter Melt-in-your-mouth deliciousness!
- 16 ounces Mini Marshmallows Add more for super gooey treats.
- 1 teaspoon Vanilla Extract Pure flavor magic!
- 1-2 drops Pink Food Coloring (optional) Just for aesthetics, but why not?
- 5 cups Crispy Rice Cereal Go with Rice Krispies for the classic taste.
- 2 ounces Freeze-Dried Strawberries They often come in 1-ounce bags, so you’ll need 2!
Instructions
Preparation
- First things first, get your workspace ready! Grab a large saucepan and a spatula. Spray your baking pan with a bit of cooking spray for easy removal later.
Melting
- In your saucepan, melt ½ cup of butter over low heat.
- Once it’s melted, toss in 16 ounces of mini marshmallows and stir until completely melted.
Flavoring
- Stir in 1 teaspoon of vanilla extract and a couple drops of pink food coloring (if using) to enhance flavor and color.
Mixing
- Remove the saucepan from heat and fold in the 5 cups of crispy rice cereal until thoroughly coated.
- Crush 2 ounces of freeze-dried strawberries into smaller pieces and gently fold them into the crispy mixture.
Setting
- Transfer the mixture to your greased baking pan and use a spatula to press it down evenly.
- Let them cool for about 30 minutes before cutting into squares.