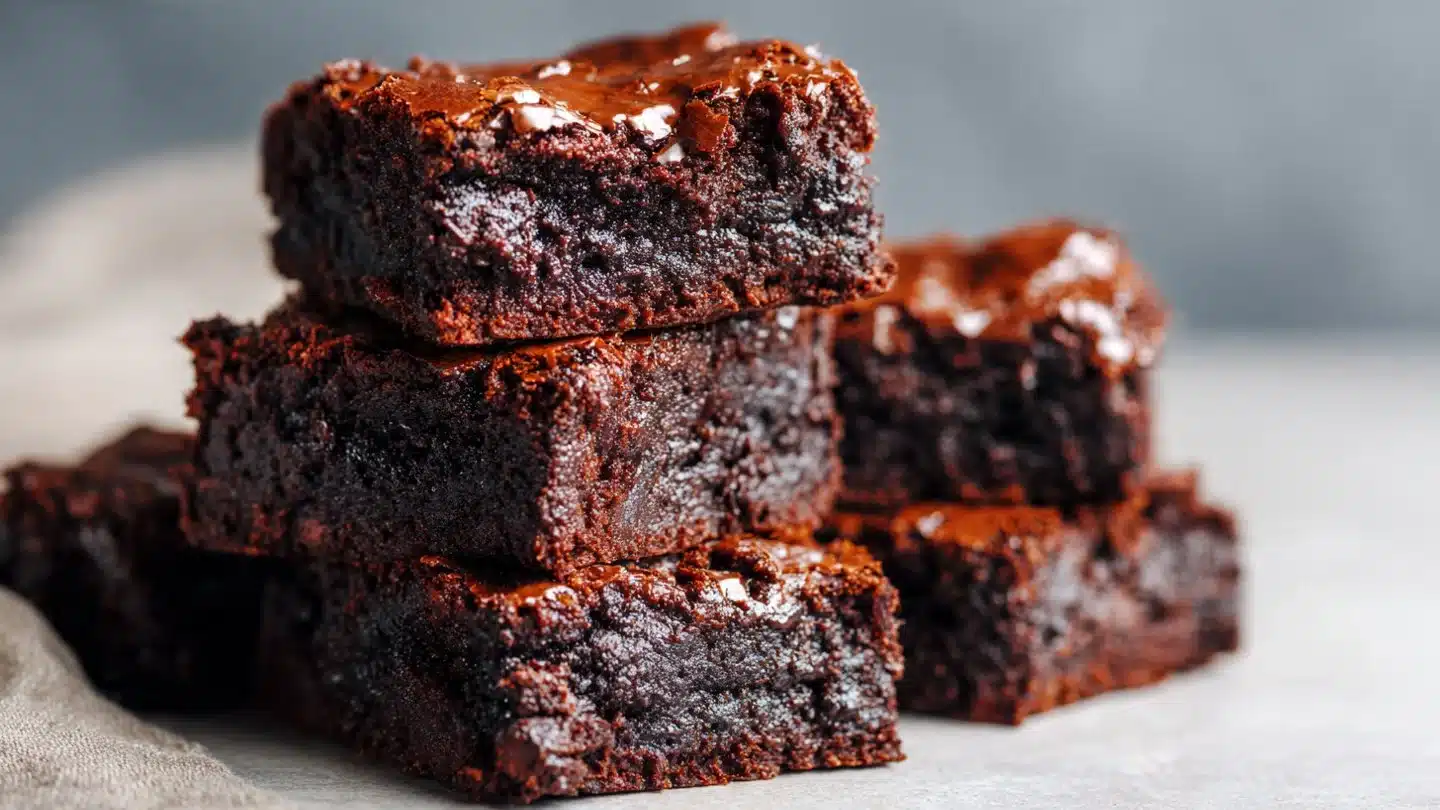
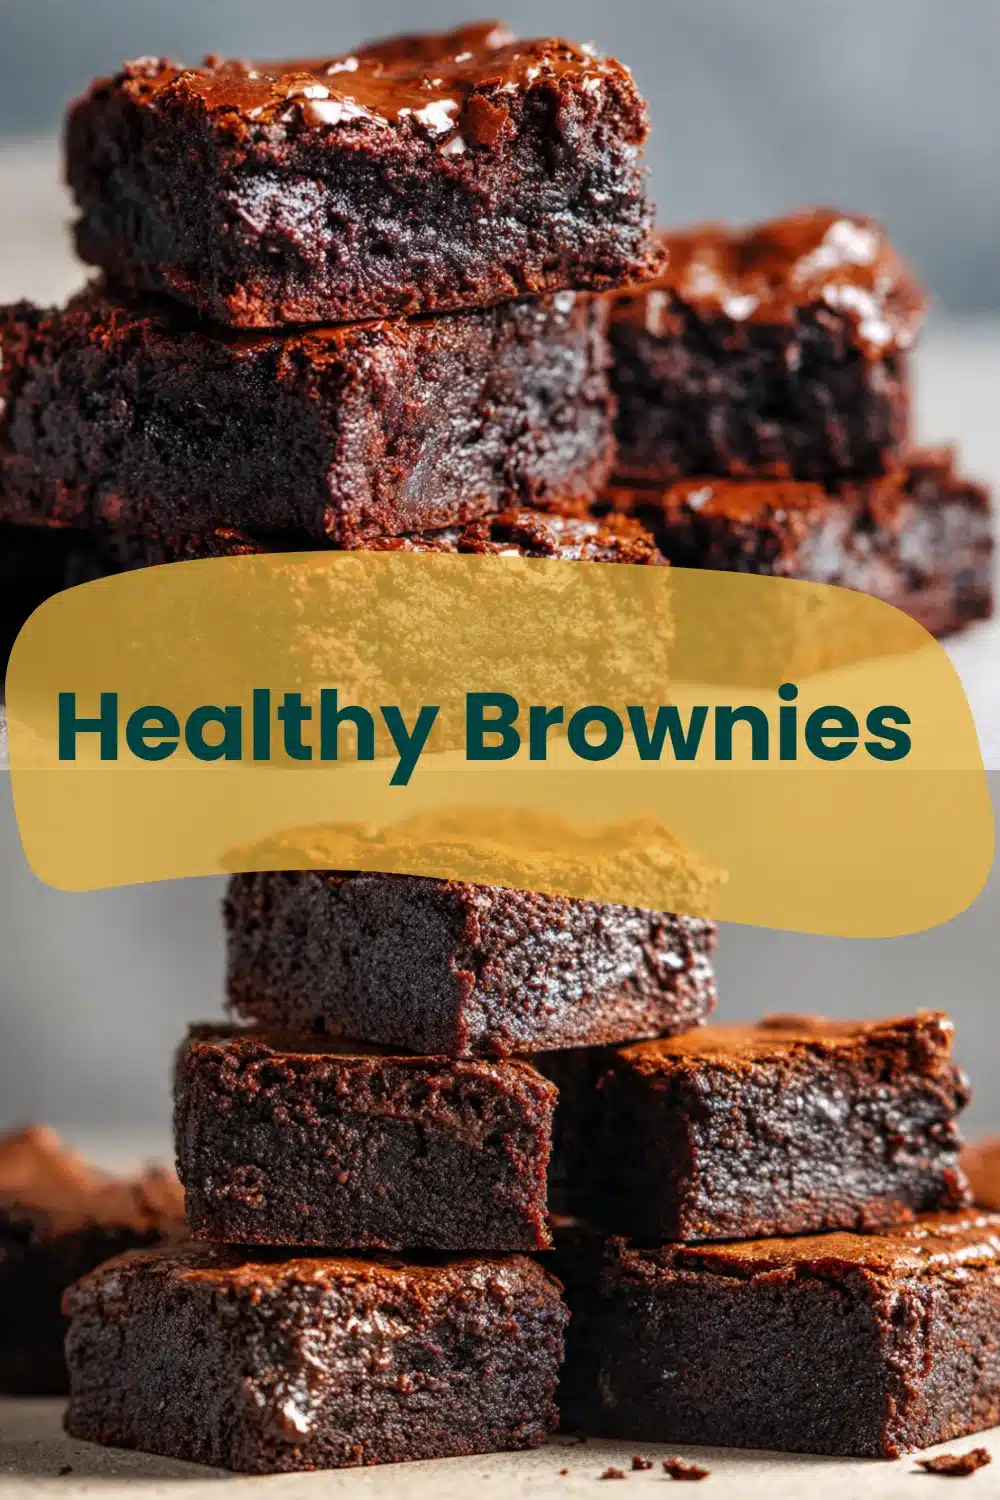
Hey, friends! So, let’s talk brownies. I don’t know about you, but when that chocolate craving hits, it hits hard, right? But here’s the kicker: what if you could satisfy that sweet tooth with a treat that’s actually good for you? Yep, I said it! Today, we’re whipping up some healthy brownies that don’t just taste good, they’re a powerhouse of nutrients. Plus, they’re super easy to make!
Who needs guilt when you can indulge smartly? Join me as we dive into this simple, delicious recipe—trust me, your taste buds (and waistline) will thank you later.
Why You’ll Love This Recipe
- Guilt-Free Indulgence: Satisfy your chocolate cravings without the extra calories.
- Ingredient Magic: We’re using black beans to sneak in some protein and fiber. Never thought I’d say that in a brownie context, did you?
- Quick and Easy: Toss everything in a blender, bake, and voila—brownies!
- Customizable: Love nuts? Go for it. Want some fruity flair? You do you, boo.
- Kid Approved: Get your little ones to eat their veggies without even knowing it.
Ingredients You’ll Need
Ready to get your brownie on? Here’s what you’ll need:
- 1 cup black beans, drained and rinsed
- 1/2 cup unsweetened cocoa powder
- 1/2 cup honey or maple syrup
- 1/4 cup coconut oil, melted
- 2 eggs
- 1 teaspoon vanilla extract
- 1/2 teaspoon baking powder
- 1/4 teaspoon salt
- 1/2 cup dark chocolate chips (optional but highly recommended!)
How to Make (Step-by-Step)
Making these brownies is easier than deciding what to watch on Netflix (and we know how hard that can be). Let’s break it down!
STEP 1: Preheat the Oven
Preheat the oven to 350°F (175°C). Grease an 8×8 inch baking dish. This bad boy is going to hold all the brownie goodness.
STEP 2: Blend It Up
In a blender or food processor, combine the black beans, cocoa powder, honey (or maple syrup), melted coconut oil, eggs, vanilla extract, baking powder, and salt. Blend until smooth. Seriously, you won’t even know there are beans in there!
STEP 3: Chocolate Chips, Anyone?
Stir in the dark chocolate chips if you’re feeling extra (and why wouldn’t you?).
STEP 4: Spread the Love
Spread the batter evenly in the prepared baking dish. Lick the spoon too—no judging here! 😉
STEP 5: Bake It Up
Bake for 20-25 minutes, or until a toothpick inserted into the center comes out clean.
STEP 6: Cool and Enjoy
Let those beauties cool before cutting them into squares. Trust me, if you dive in too soon, you might end up with a brownie volcano!
Pro Tips for the Best Results
- Don’t Overmix: Blend until just smooth; you want that brownie texture, not bean dip.
- Taste the Batter: Keep some of it for yourself (it’s totally safe – raw eggs in this recipe are fine).
- Experiment: Try adding spices like cinnamon or even a pinch of sea salt on top for that gourmet touch.
- Use Quality Cocoa: It makes a difference! Go for the good stuff.
Fun Variations & Topping Ideas
Variations:
- Nutty Brownies: Add chopped walnuts or pecans for a crunch.
- Fruit Infusion: Toss in 1/2 cup of mashed bananas or applesauce for a different flavor profile.
- Mint Chocolate: Add a few drops of peppermint extract, and it’s like having Thin Mints in brownie form!
Toppings:
- Nut Butter Drizzle: A little peanut or almond butter on top can take it to the next level.
- Coconut Flakes: Sprinkle some shredded coconut for a tropical twist.
- Ice Cream: The ultimate indulgence—healthy brownies with a scoop of your fave dairy-free ice cream. Heaven!
Storing and Reheating
Storing:
Place any leftovers in an airtight container. They can sit at room temperature for up to 3 days or be stored in the fridge (I’m sure they won’t last that long anyway!).
Reheating:
Pop them back into a low oven for about 5 minutes, or microwave them for about 10-15 seconds to bring the chocolatey goodness back to life.
Leftover Ideas
Leftover brownies (if there ever are any!) can be crumbled on top of yogurt or served with fresh fruit. You can even make them into a “brownie sundae”—because, hello, who doesn’t love dessert for breakfast?
Frequently Asked Questions (FAQ)
Can I freeze these brownies?
Absolutely! Cut them into squares, wrap them individually, and they’ll last for a month in the freezer. Just thaw before devouring.
Are these brownies gluten-free?
Yep! Since they’re made with black beans, they’re naturally gluten-free. Check your labels for any added ingredients though.
What’s the texture like?
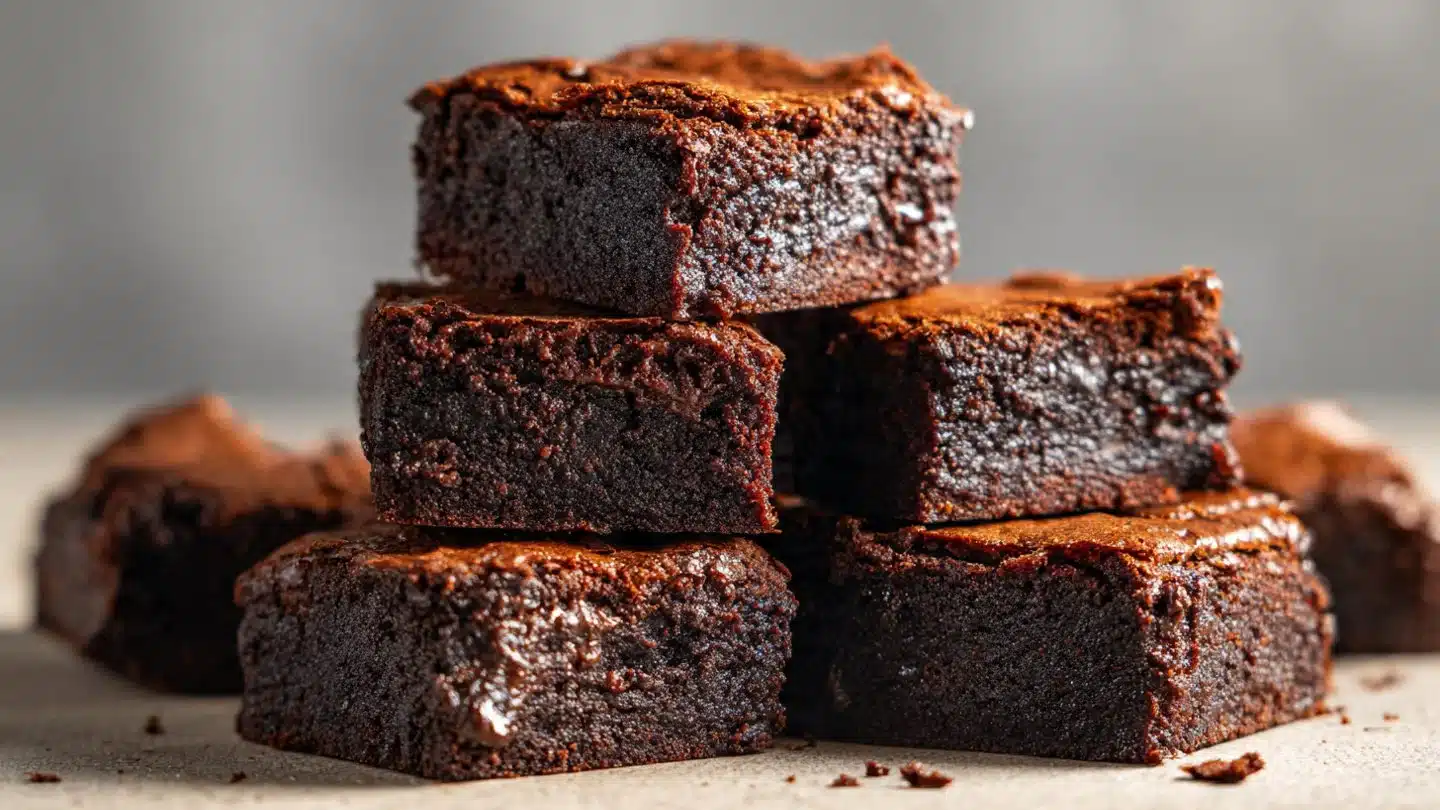
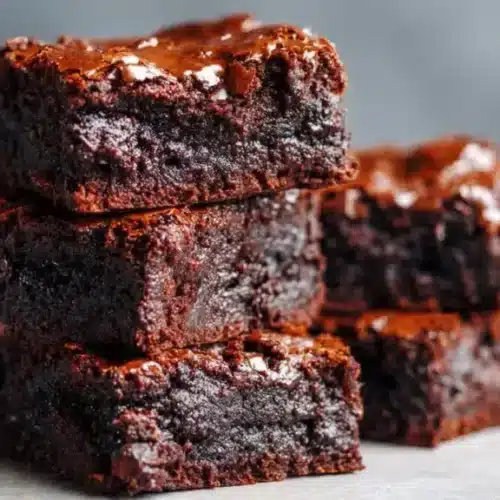
You’ll be amazed! They’re fudgy, dense, and unbelievably rich. Seriously, your friends will think you’ve turned into a baking wizard.
Conclusion
And there you have it, folks! A simple, mouthwatering recipe for healthy brownies that you can whip up anytime the chocolate cravings strike. They’re rich, satisfying, and honestly, who needs flour when you’ve got black beans, am I right?
Give them a try, and let me know how it goes! I’d love to hear your feedback, so don’t forget to leave a comment and a rating on this recipe. Happy baking, everyone! 🍫
Healthy Brownies
Ingredients
Brownie Batter
- 1 cup black beans, drained and rinsed
- 1/2 cup unsweetened cocoa powder Use quality cocoa for best flavor.
- 1/2 cup honey or maple syrup
- 1/4 cup coconut oil, melted
- 2 pieces eggs
- 1 teaspoon vanilla extract
- 1/2 teaspoon baking powder
- 1/4 teaspoon salt
- 1/2 cup dark chocolate chips Optional but recommended.
Instructions
Preparation
- Preheat the oven to 350°F (175°C) and grease an 8×8 inch baking dish.
- In a blender or food processor, combine the black beans, cocoa powder, honey (or maple syrup), melted coconut oil, eggs, vanilla extract, baking powder, and salt. Blend until smooth.
- Stir in the dark chocolate chips.
- Spread the batter evenly in the prepared baking dish.
Baking
- Bake for 20-25 minutes, or until a toothpick inserted into the center comes out clean.
- Let cool before cutting into squares.