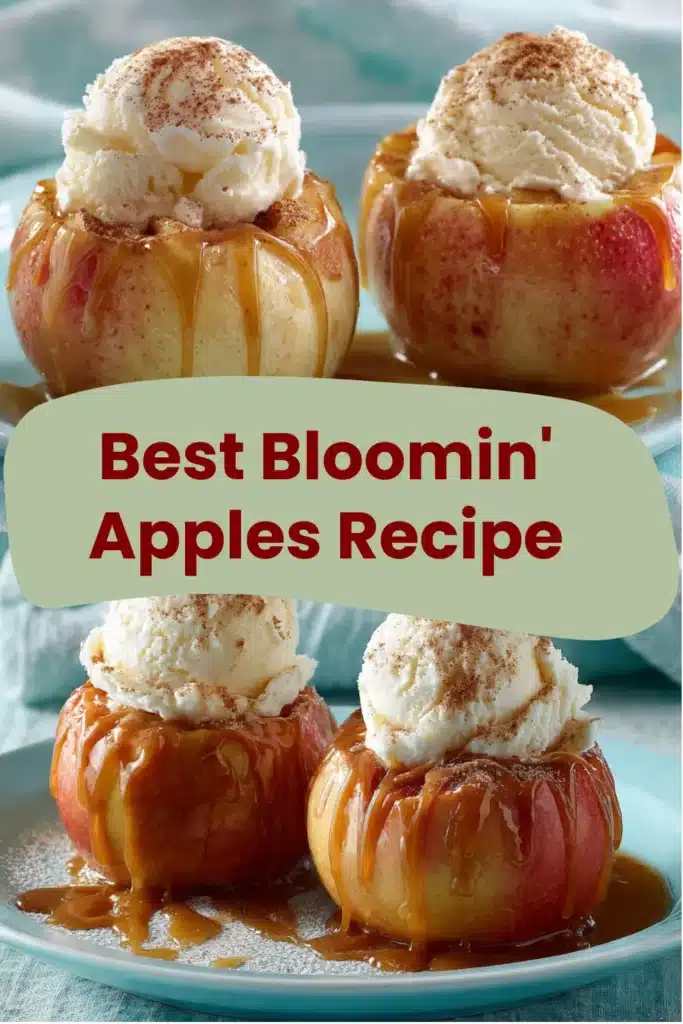
You know those fancy-looking desserts that somehow make you feel like a better baker than you actually are? This Bloomin’ Apples recipe pulls that move every time. I first made these on a lazy Sunday, armed with one too-many apples and way too much optimism, and they turned out ridiculously good. Want a dessert that looks impressive but doesn’t require a culinary degree? Stick with me.
Also, if you nerd out about using every part of an apple like I do, you might enjoy this apple peel recipe for weight loss — yeah, I found that and tried it. Curious? You should be. 🙂
Why You’ll Love This Recipe
- Easy-to-follow steps that even a distracted cook can manage.
- Minimal ingredients but maximum cozy flavor.
- Impressive presentation — they look fancy, I promise.
- Customizable: Use whatever apple you love (or have) and switch up the filling.
- Perfect for sharing: They serve well as a portable dessert or a centerpiece.
Ingredients You’ll Need
- 4 large firm apples (Honeycrisp, Pink Lady, or Granny Smith work great)
- 1/3 cup brown sugar (packed)
- 1/4 cup rolled oats (optional for texture)
- 2 tbsp butter, cold and cubed
- 1 tsp ground cinnamon
- 1/4 tsp ground nutmeg
- 1 tsp vanilla extract
- 1/4 cup chopped nuts (walnuts or pecans)
- 1 tbsp lemon juice (to prevent browning)
- Powdered sugar or caramel sauce for serving (optional)
How to Make (Step-by-Step)
STEP 1: Prep the apples
Wash your apples and slice about 3/4 of the way down into each apple in 1/4-inch intervals, leaving the bottom intact so the apple blooms open like a flower. I use a sharp paring knife and go slowly—patience pays off here. Brush the apples with lemon juice to keep them bright.
STEP 2: Make the filling
Mix brown sugar, oats, cinnamon, nutmeg, vanilla, and nuts in a bowl. Cut in the cold butter until the mixture looks pebbly. This filling gives you crunch and caramel notes without being cloying.
Ingredient and Method
I put the word Ingredient and Method here because I like clarity. Ingredient: the list above gives you everything you need. Method: stuff the apples, bake until tender, and finish with a drizzle of sauce. Simple, deliberate, effective.
STEP 3: Stuff and bake
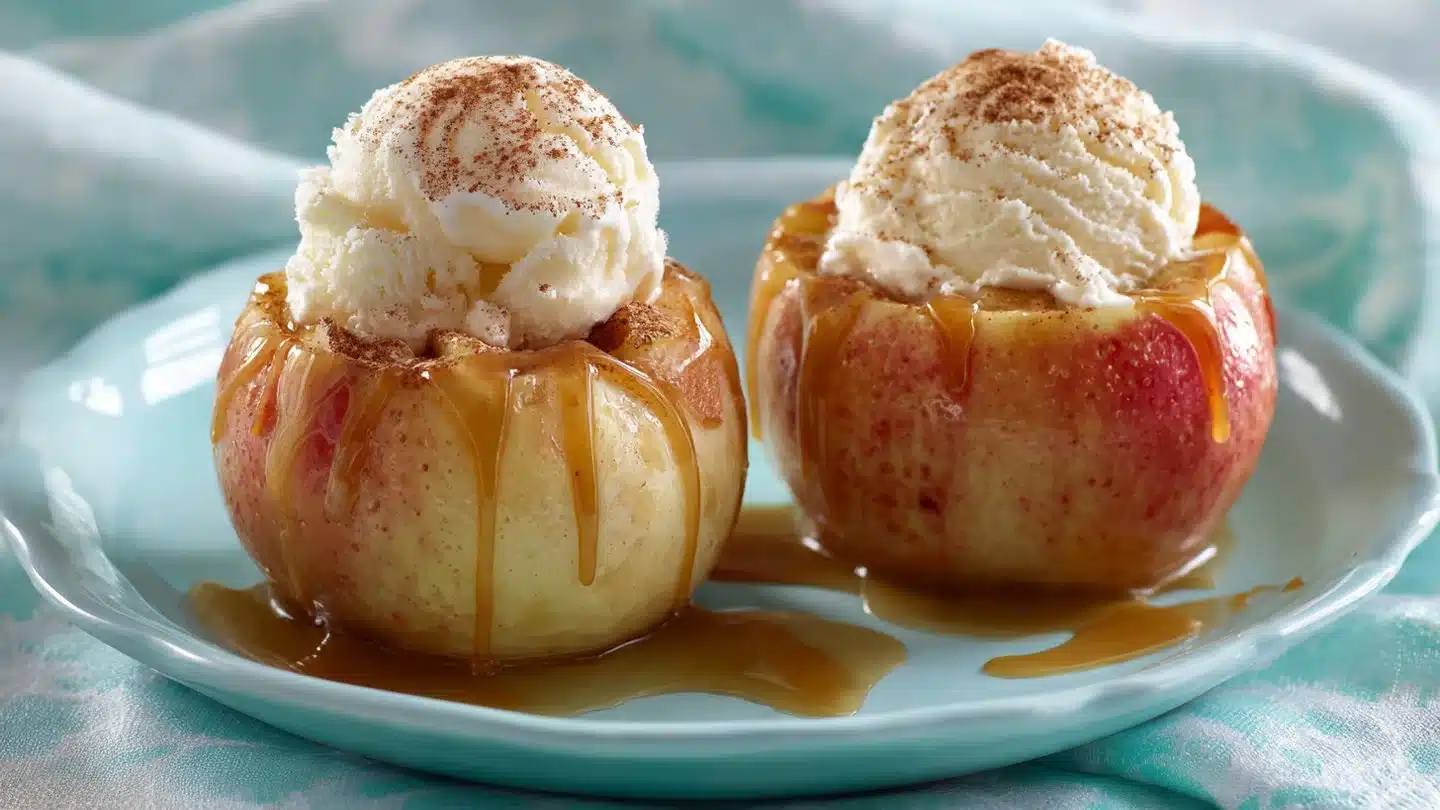
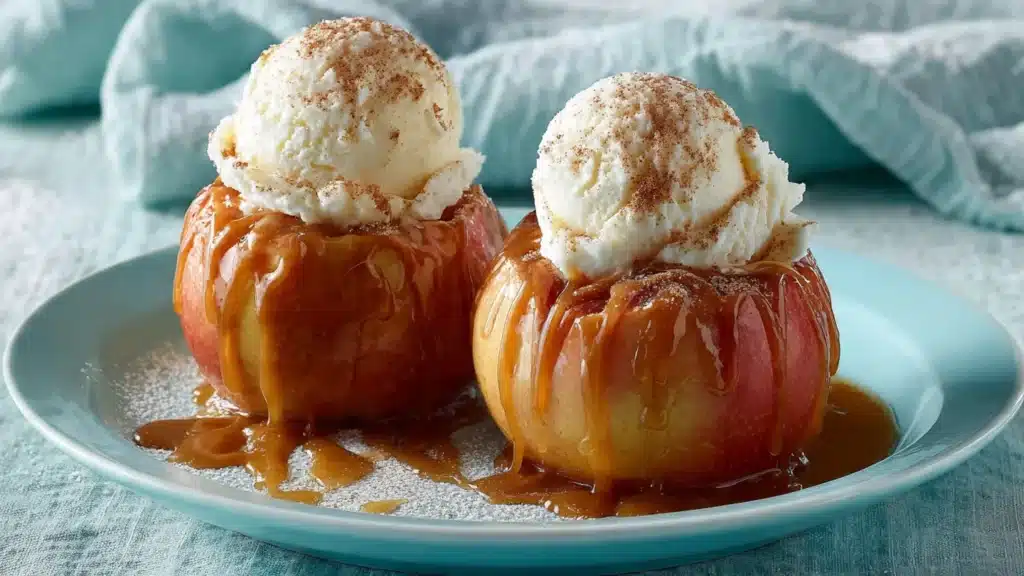
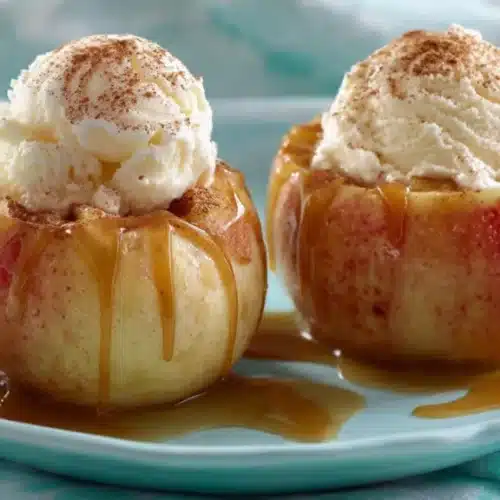
Gently open each apple and spoon the filling into the slits and the top. Place apples in a baking dish and add a splash of water or apple cider to the bottom (about 1/4 inch). Bake at 375°F (190°C) for 25–35 minutes, depending on your oven and apple size. You’ll know they’re done when the apples are tender and the topping looks golden.
STEP 4: Serve
Let them cool for 5–10 minutes so they hold their shape. Finish with powdered sugar or warm caramel sauce and a scoop of vanilla ice cream if you’re feeling indulgent. Eat immediately because warm fruit + melting ice cream = zero regrets.
Pro Tips for the Best Results
- Use firm apples (Honeycrisp or Granny Smith) to keep structure during baking.
- Cold butter makes the filling crumbly and adds texture.
- Add a splash of apple cider or water to the pan so the apples don’t dry out.
- Rotate the baking dish halfway through to ensure even browning.
- For extra flavor, sprinkle a pinch of sea salt on top before serving. Trust me.
- If you want crispier edges, broil the apples for 1–2 minutes at the end—watch them like a hawk.
Fun Variations & Topping Ideas
Variations:
- Apple-Cranberry Bloom: Add 2 tbsp dried cranberries to the filling for tart bursts.
- Caramel-Pecan Bloom: Swap nuts for pecans and fold in 2 tbsp caramel bits.
- Spiced Rum Bloom: Add 1 tbsp dark rum to the filling for grown-up flavors. IMO, this one is dangerously delicious.
Toppings:
- Classic vanilla ice cream (you know the move).
- Greek yogurt for a tangy, lighter option.
- Salted caramel drizzle for full dessert-theater vibes.
- Chopped toasted nuts for crunch.
- Honey and a pinch of cinnamon if you want simple sweetness.
Storing and Reheating
Store leftover bloomin’ apples in an airtight container in the fridge for up to 3 days. I don’t recommend freezing them; the texture suffers.
To reheat:
- Oven: Place in a baking dish, cover with foil, and heat at 325°F (160°C) for 10–15 minutes until warm.
- Microwave: Heat on medium power for 45–60 seconds; this method softens the apple faster but can make the filling less crisp.
- To crisp topping: After microwaving, pop them under the broiler for 30–60 seconds, watching closely.
FYI, reheating in the oven keeps the texture closest to the original.
Leftover ideas
- Chop leftover bloomin’ apples and fold them into overnight oats for sweet morning energy.
- Warm apple chunks make a killer topping for pancakes or waffles.
- Mix cooled leftovers into plain yogurt with a sprinkle of granola for a quick parfait.
- Stir leftover filling into muffin batter for instant apple muffins.
And hey, if your kitchen ever smells this good and you still have leftovers, you did something right.
Frequently Asked Questions (FAQ)
What apples work best for bloomin’ apples?
Choose firm, slightly tart apples like Honeycrisp, Pink Lady, or Granny Smith. These apples hold their shape and offer a nice balance of sweetness and acidity.
Can I make this gluten-free?
Yes—swap the oats for gluten-free oats or crushed gluten-free crackers. The textural contrast will still shine.
How do I prevent the apples from falling apart?
Don’t slice all the way through. Leave about 1/4 inch at the bottom intact so the slices stay connected. Use a sharp knife to keep cuts clean.
Can I prep ahead?
You can prep the apples and filling up to 24 hours ahead. Keep them covered in the fridge and bake when ready.
What if I don’t have nuts or oats?
Skip them—your apple will still taste great. I sometimes go bare-bones when pantry life gets real.
Conclusion
You just learned a simple, stunning, and fully customizable Bloomin’ Apples recipe that looks like something from a café but takes way less effort. This recipe delivers warm cinnamon vibes, buttery filling, and a show-stopping presentation that makes guests think you slaved for hours—when you actually napped between steps. Want the original inspiration or another take on the method? Check out this helpful Bloomin’ Baked Apples Recipe – The Gunny Sack for a slightly different twist and extra visuals.
If you tried this, drop a comment and a rating—tell me whether you added rum or went full-on caramel. I read every note (and I might steal your idea). Happy baking!
Bloomin’ Apples
Ingredients
For the apples
- 4 large apples (Honeycrisp, Pink Lady, or Granny Smith work great) Choose firm and slightly tart apples for best results.
- 1 tbsp lemon juice To prevent browning.
For the filling
- 1/3 cup brown sugar (packed) Adds sweetness and depth.
- 1/4 cup rolled oats Optional for texture.
- 2 tbsp butter, cold and cubed Provides a crumbly texture.
- 1 tsp ground cinnamon For warm flavor.
- 1/4 tsp ground nutmeg Adds warmth and spice.
- 1 tsp vanilla extract Enhances flavor.
- 1/4 cup chopped nuts (walnuts or pecans) For crunch.
For serving
- Powdered sugar or caramel sauce (optional) For drizzling on top.
Instructions
Preparation
- Wash your apples and slice about 3/4 of the way down into each apple in 1/4-inch intervals, leaving the bottom intact so the apple blooms open like a flower.
- Brush the apples with lemon juice to keep them bright.
Making the filling
- Mix brown sugar, oats, cinnamon, nutmeg, vanilla, and nuts in a bowl.
- Cut in the cold butter until the mixture looks pebbly.
Stuff and bake
- Gently open each apple and spoon the filling into the slits and the top.
- Place apples in a baking dish and add a splash of water or apple cider to the bottom (about 1/4 inch).
- Bake at 375°F (190°C) for 25–35 minutes, until the apples are tender and the topping looks golden.
Serving
- Let them cool for 5–10 minutes before serving.
- Finish with powdered sugar or warm caramel sauce and consider adding a scoop of vanilla ice cream.