
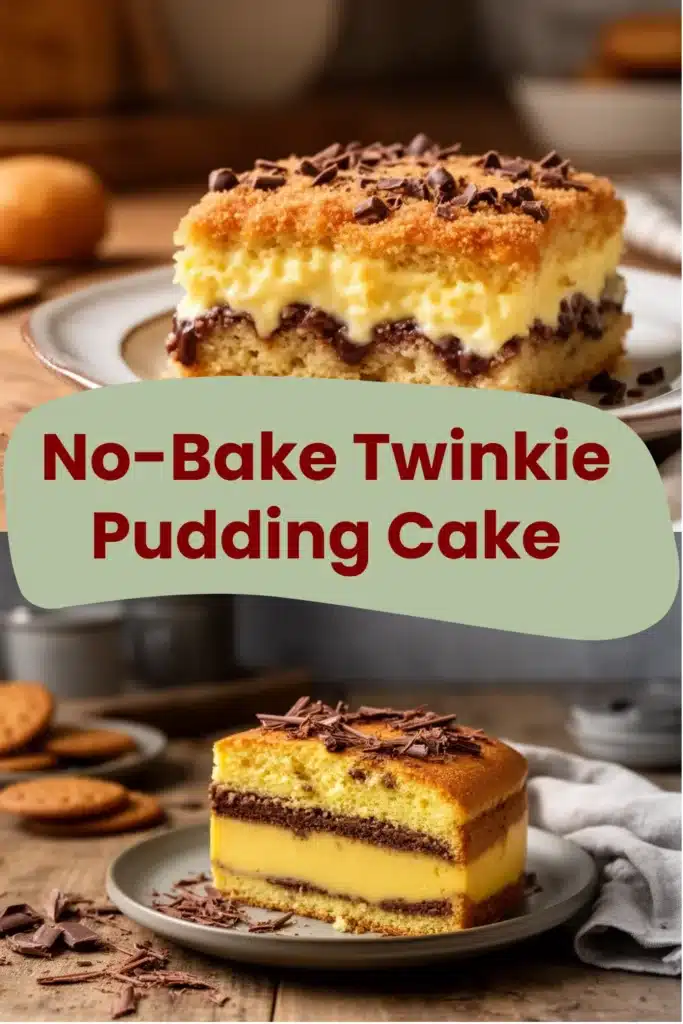
Okay, You want dessert fast, you want it comforting, and you definitely don’t want to turn on the oven. Sound familiar? I felt that exact urge last week and experimented until I landed on a ridiculously easy winner: a No-Bake Twinkie Pudding Cake. I’ll be honest — I didn’t expect pure nostalgia to hit so hard, but here we are. If you like vintage desserts or comfort food with zero fuss, you’ll get this one immediately. Also, if you ever need a quirky party conversation starter, this cake brings the weirdly wonderful vibes.
I’ll walk you through this step-by-step and share the little tricks I picked up. If you enjoy assembled, no-bake desserts, you might also like my take on a Guinness chocolate bundt cake — yes, I know, totally different mood, but both satisfy the “I want cake but I don’t want work” energy.

Why You’ll Love This Recipe
- Ridiculously quick: You assemble it in minutes, chill, and impress people without heroic effort.
- Kid-approved nostalgia: It hits the sweet tooth and memory centers at once.
- No oven, no mess: Great for hot days or when your oven looks like a villain.
- Flexible: Swap fillings or toppings and keep the same easy base.
- Feeds a crowd: The recipe scales well when company pops in unexpectedly.
Ingredients You’ll Need
- 10 Twinkies
- 1 package (3.4 oz) instant vanilla pudding mix
- 2 cups milk
- 1 container (8 oz) whipped topping, thawed
- 1 can (21 oz) cherry pie filling
Yes, that’s it. Short list, huge return.
How to Make (Step-by-Step)
STEP 1: Make the pudding
Mix the instant vanilla pudding mix with 2 cups of cold milk in a bowl. Whisk for about two minutes until the pudding thickens. I like to whisk aggressively because I enjoy the tiny victory of watching it set quickly.
STEP 2: Layer the Twinkies
Line a 9×13 inch dish with 10 Twinkies, placing them side by side to cover the bottom. Press them gently so they snug together. Ever tried to jam a picky Twinkie into a gap? Don’t, they’re delicate.
STEP 3: Add the pudding layer
Spread half of the pudding over the Twinkies in an even layer. Use an offset spatula if you have one, or a spoon if you like character in your layers. The goal here: even coverage so every bite gets creamy goodness.
STEP 4: Add the whipped topping
Fold the 8 oz whipped topping into the remaining half of pudding or spread it on top of the pudding layer—your call. I usually fold a bit so I get a slightly lighter texture. Spread this mix evenly.
STEP 5: Top with cherry pie filling
Spoon the entire 21 oz can of cherry pie filling across the top. Smooth lightly for pretty presentation or dollop randomly if rustic vibes suit you. I recommend smoothing for parties, dolloping for late-night snacking.
STEP 6: Chill and serve
Cover the dish and refrigerate for at least 2 hours, though overnight improves texture as the Twinkies soak up the pudding. When ready, cut into squares and serve cold. You’ll find the Twinkies transform into a cake-like layer—magic or basic chemistry, I’ll let you decide.
Pro Tips for the Best Results
- Chill longer for a firmer slice; I prefer overnight because it slices cleaner.
- Use cold milk for instant pudding to set properly and fast.
- Swap pie filling if cherries aren’t your jam — blueberry or peach work great.
- Press Twinkies gently; they soak up liquid fast and break if you manhandle them.
- Serve with fresh fruit to lighten the sweetness and add color.
- Make it ahead: This improves flavor and reduces day-of stress.
Fun Variations & Topping Ideas
Variations:
- Banana Cream Twist: Replace cherry filling with sliced bananas and banana pudding.
- Chocolate Dream: Use instant chocolate pudding and top with chocolate ganache.
- Strawberry Shortcake Vibe: Swap cherry filling for fresh strawberries and a light glaze.
- Mini Twinkies: Use mini Twinkies for individual parfait-style servings.
Toppings:
- Toasted coconut for texture contrast.
- Chopped nuts (pecans or walnuts) for a salty crunch.
- Grated chocolate for a touch of bitterness.
- Fresh mint for a pop of color and freshness.
Storing and Reheating
Store leftovers covered in the refrigerator for up to 4 days. The texture softens as it sits, but I find the flavor deepens. If the top looks a little sad by day two, add a fresh spoonful of pie filling before serving.
Reheating? Don’t. Seriously, this cake shines cold. If you insist on warmth, microwave individual slices for 8–10 seconds—barely warm, not lava-hot. You’ll thank me later.
Leftover ideas
- Jar desserts: Layer spoonfuls with whipped topping and fresh fruit into jars for grab-and-go treats.
- Sundae topper: Warm a scoop of vanilla ice cream and crumble cake on top for texture.
- Trifle remix: Cut into cubes and toss with extra pudding and fruit for a quick trifle.
- Milkshake base: Blend a slice with milk and ice cream for a nostalgic, cakey milkshake.
Frequently Asked Questions (FAQ)
How long does this cake need to chill?
Chill for at least 2 hours, but I recommend overnight for best texture. The Twinkies absorb pudding and taste better after some patience.
Can I use fresh whipped cream instead of thawed whipped topping?
Yes, you can, but fresh whipped cream will create a softer structure. If you use it, stabilize with a small amount of powdered sugar or gelatin if you want firmer slices.
What if someone hates cherries?
Swap the cherry pie filling for blueberry, peach, or strawberry; the assembly stays the same. You can also use pie filling with whole fruit for more texture.
Can I make this gluten-free?
Twinkies contain gluten, so you’ll need a gluten-free sponge or a gluten-free snack cake alternative to replicate the base. The pudding and toppings often already come gluten-free, but always check labels.
Can I assemble this the day before a party?
Absolutely. Assemble in the morning or the night before. Keep it covered and refrigerated. The flavors marry beautifully with time—IMO, it improves overnight.
Conclusion
This No-Bake Twinkie Pudding Cake gives you nostalgia, speed, and crowd-pleasing flavor with minimal effort. You build layers, chill, and serve — no oven heroics required. If you want a tried-and-true, slightly goofy, definitely satisfying dessert for a casual gathering or a sweet weeknight finish, this one fills the bill. Try the base recipe as written, then riff on fillings and toppings once you see how forgiving it remains.
If you want a classic Southern take for inspiration, check out this Twinkie Cake (No Bake Recipe) – Southern Plate for a slightly different spin. Leave a comment and rating if you try this; I want to hear how you customize it and which toppings made you smile. Happy no-bake baking (yes, that’s a thing) — and don’t forget to save a slice for me. 🙂
No-Bake Twinkie Pudding Cake
Ingredients
Main Ingredients
- 10 pieces Twinkies Use regular-sized Twinkies.
- 1 package (3.4 oz) instant vanilla pudding mix
- 2 cups milk Use cold milk for best results.
- 1 container (8 oz) whipped topping, thawed Can substitute with fresh whipped cream.
- 1 can (21 oz) cherry pie filling Can be swapped with other pie filling flavors.
Instructions
Preparation
- In a bowl, mix the instant vanilla pudding mix with 2 cups of cold milk. Whisk for about two minutes until the pudding thickens.
- Line a 9×13 inch dish with the 10 Twinkies, placing them side by side to cover the bottom. Press them gently to stay together.
- Spread half of the prepared pudding over the Twinkies in an even layer.
- Fold the whipped topping into the remaining half of the pudding, then spread this mixture evenly over the pudding layer.
- Spoon the entire can of cherry pie filling across the top, smoothing it out for presentation.
- Cover the dish and refrigerate for at least 2 hours, preferably overnight for best texture. Cut into squares and serve cold.